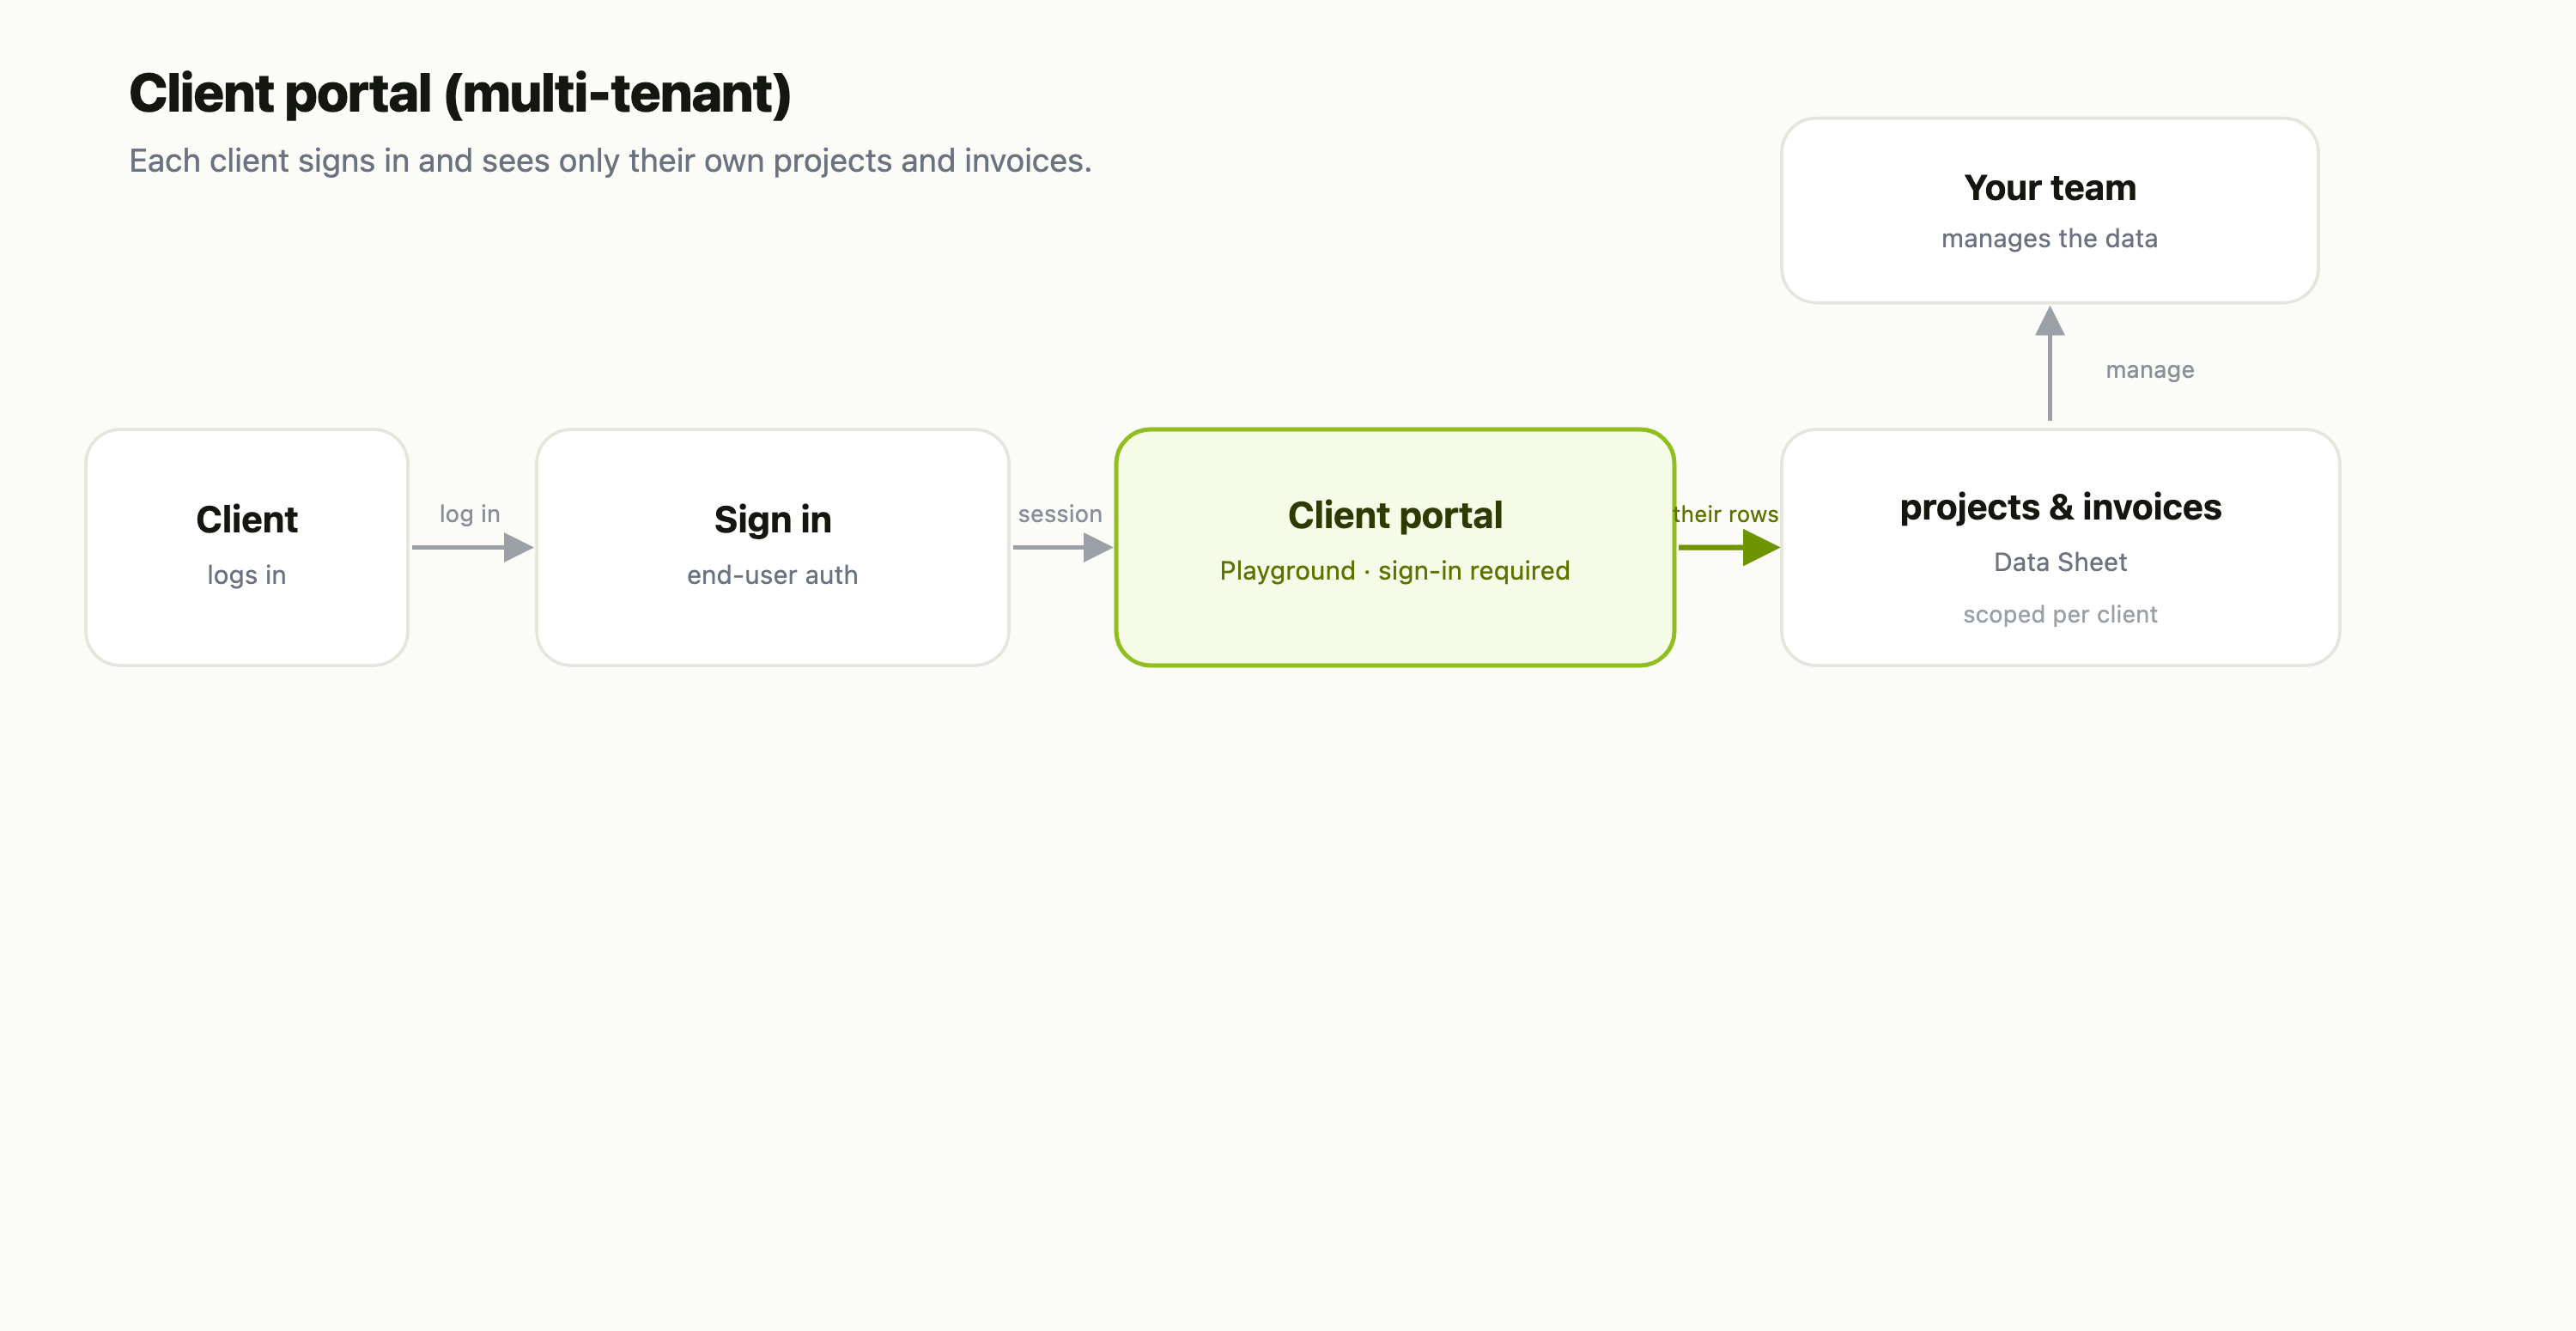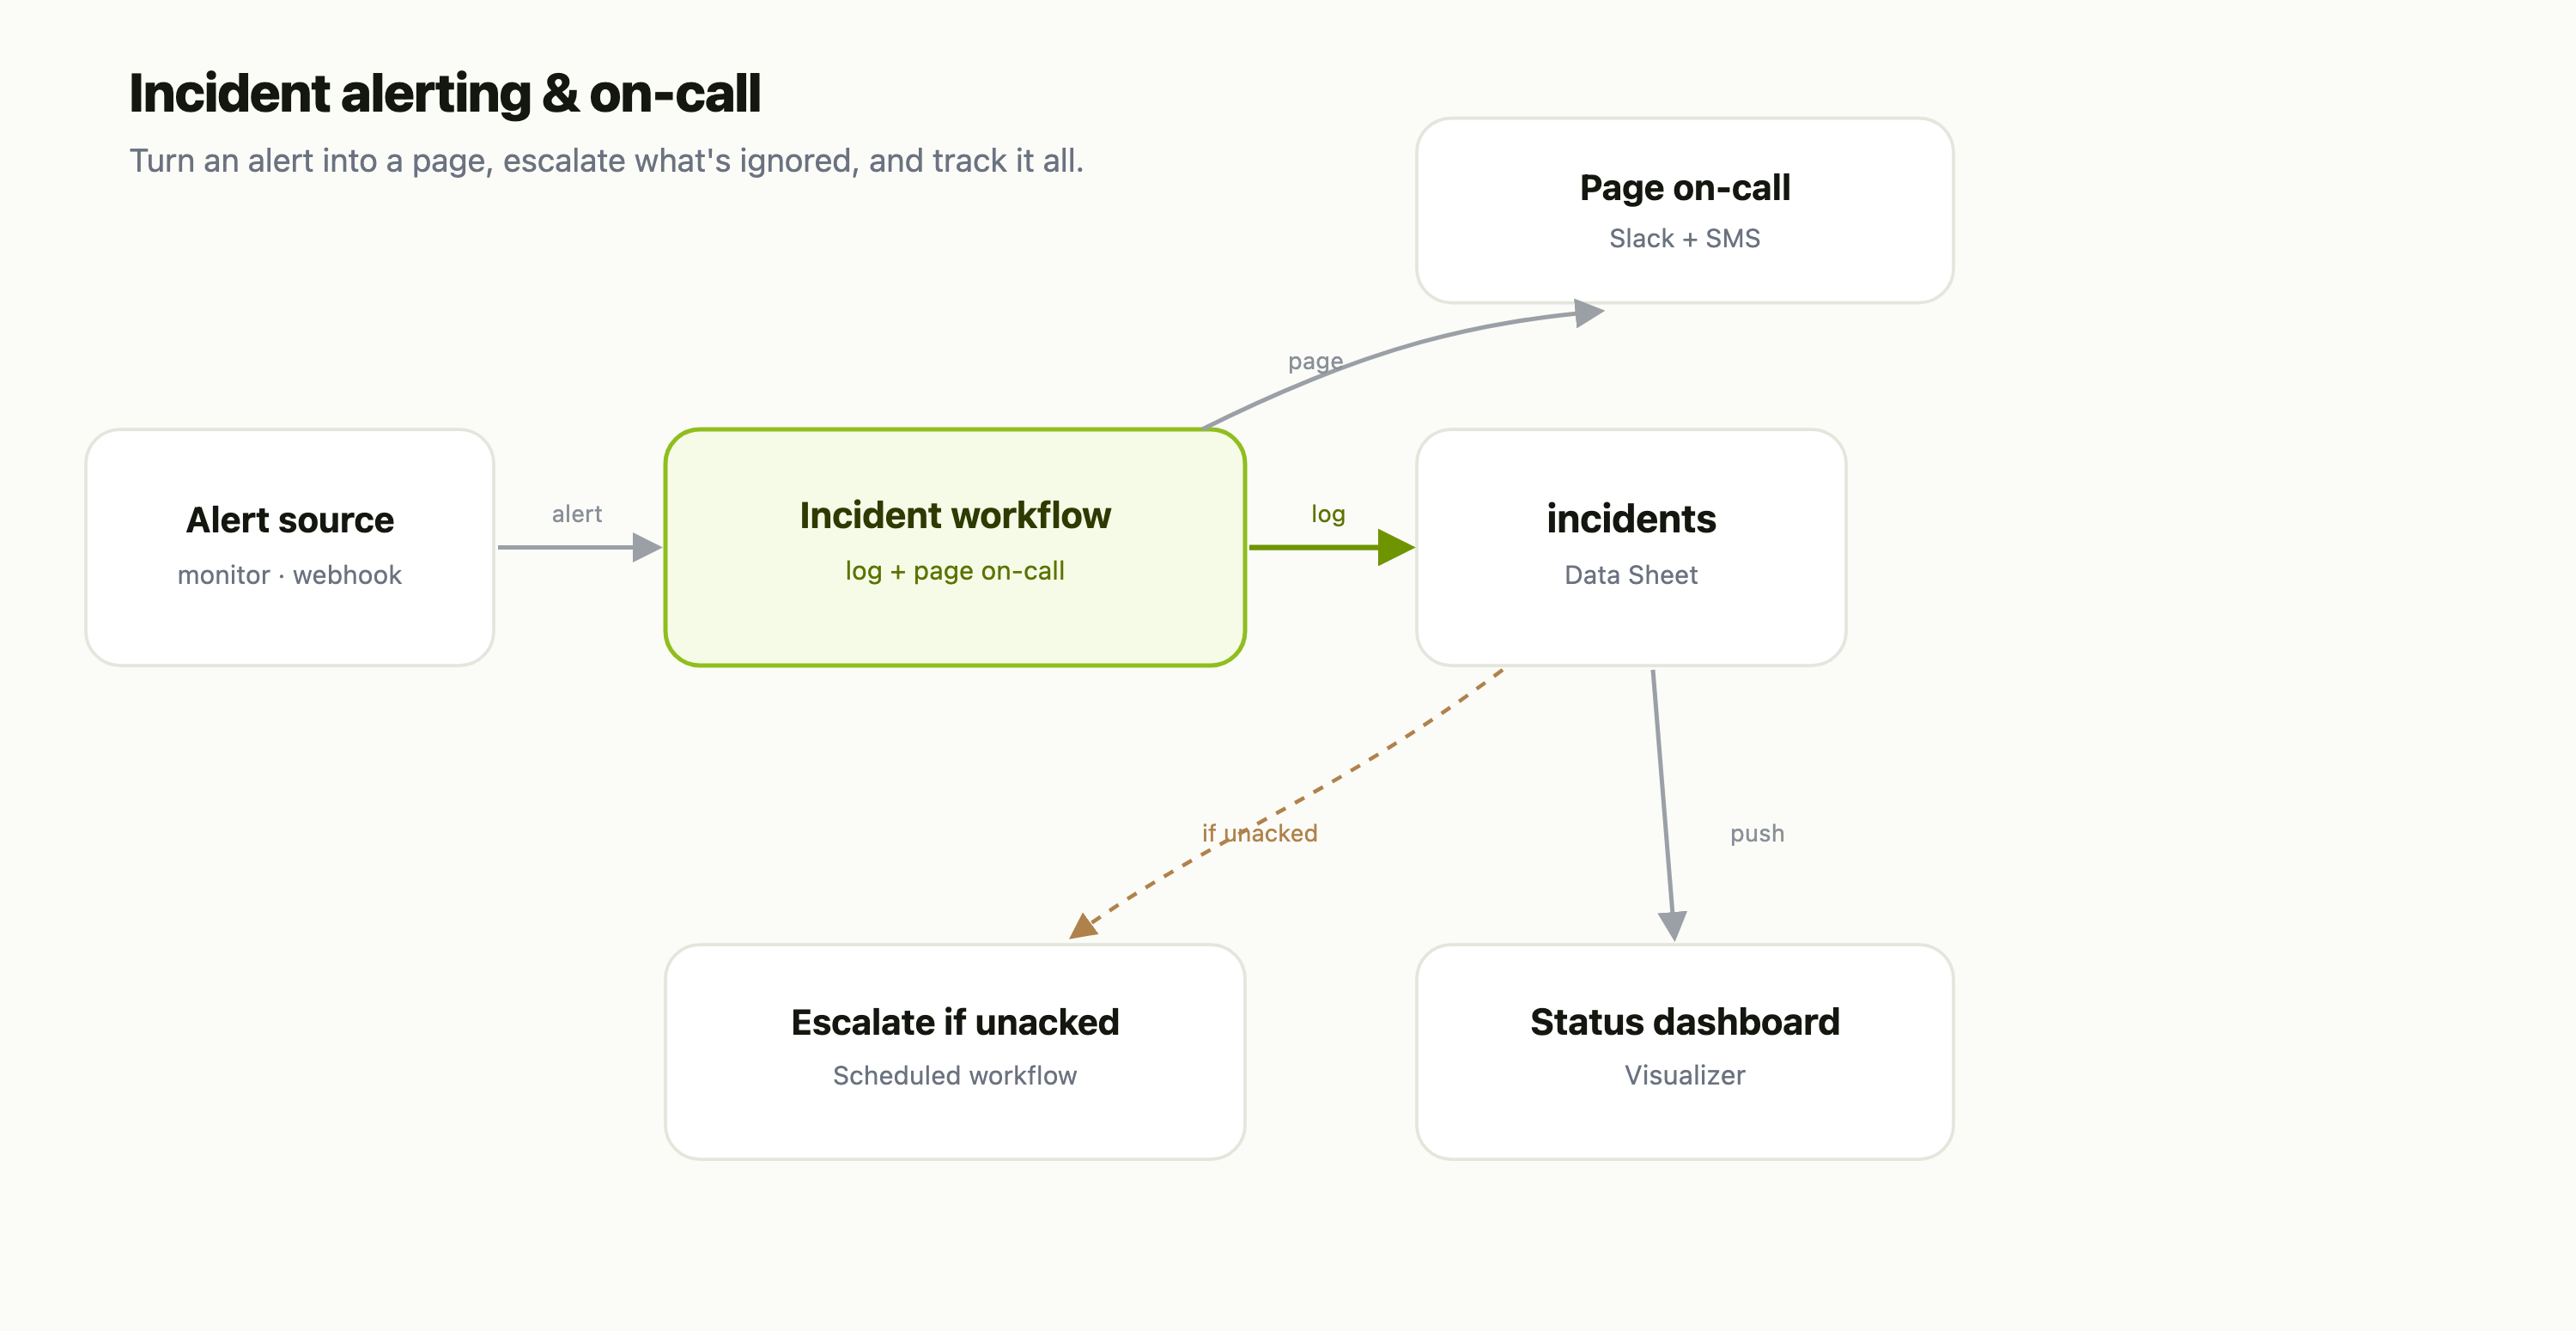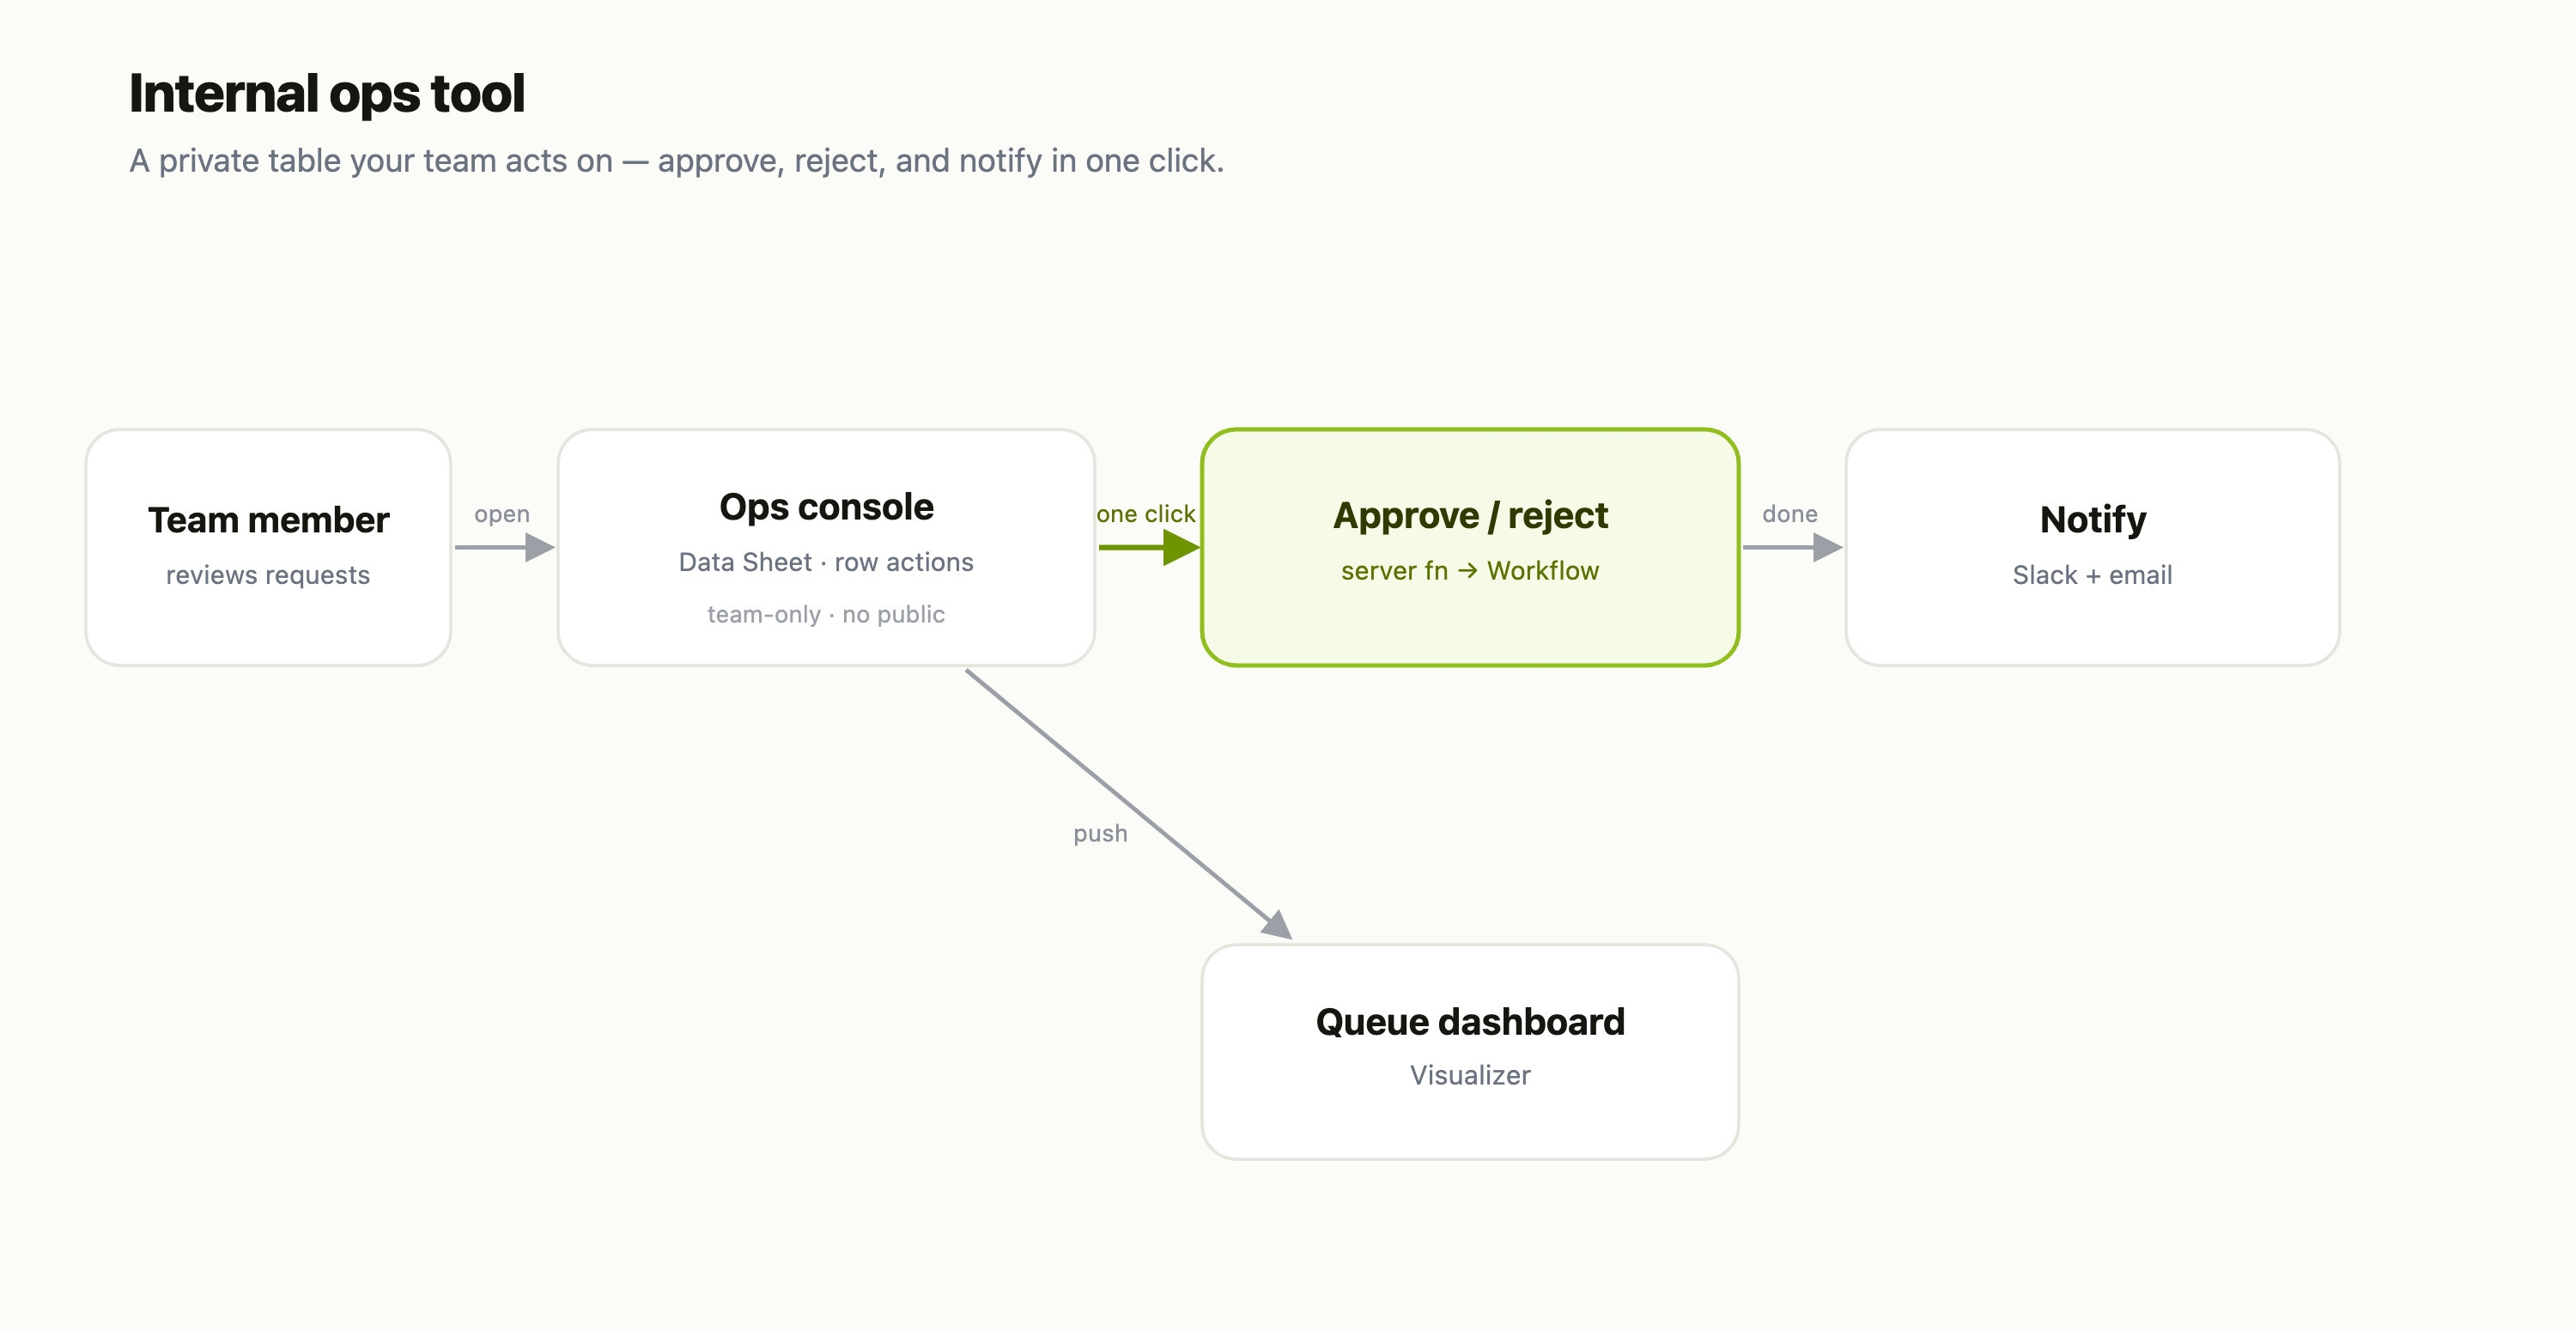

Forms are deceptively hard. Anyone can slap five inputs on a page; the difference between a form people abandon and one they finish is in the details — a clean multi‑step flow, fields that appear only when they're relevant, branding that matches your event, a friendly welcome, and a thank‑you that actually says thank you.
FlowFn Forms give you all of that from one editor, with no code, and then do the part most form builders skip: they collect, analyze, and act on the responses. In this guide we'll build DevConf 2026 — Registration end to end and tour the whole feature: the field builder, conditional logic, multi‑step flow, appearance, access & publishing, the live public page, embedding, responses, and the connection to workflows.
Here's the finished public form — the thing your attendees actually see, served on your app's own domain:
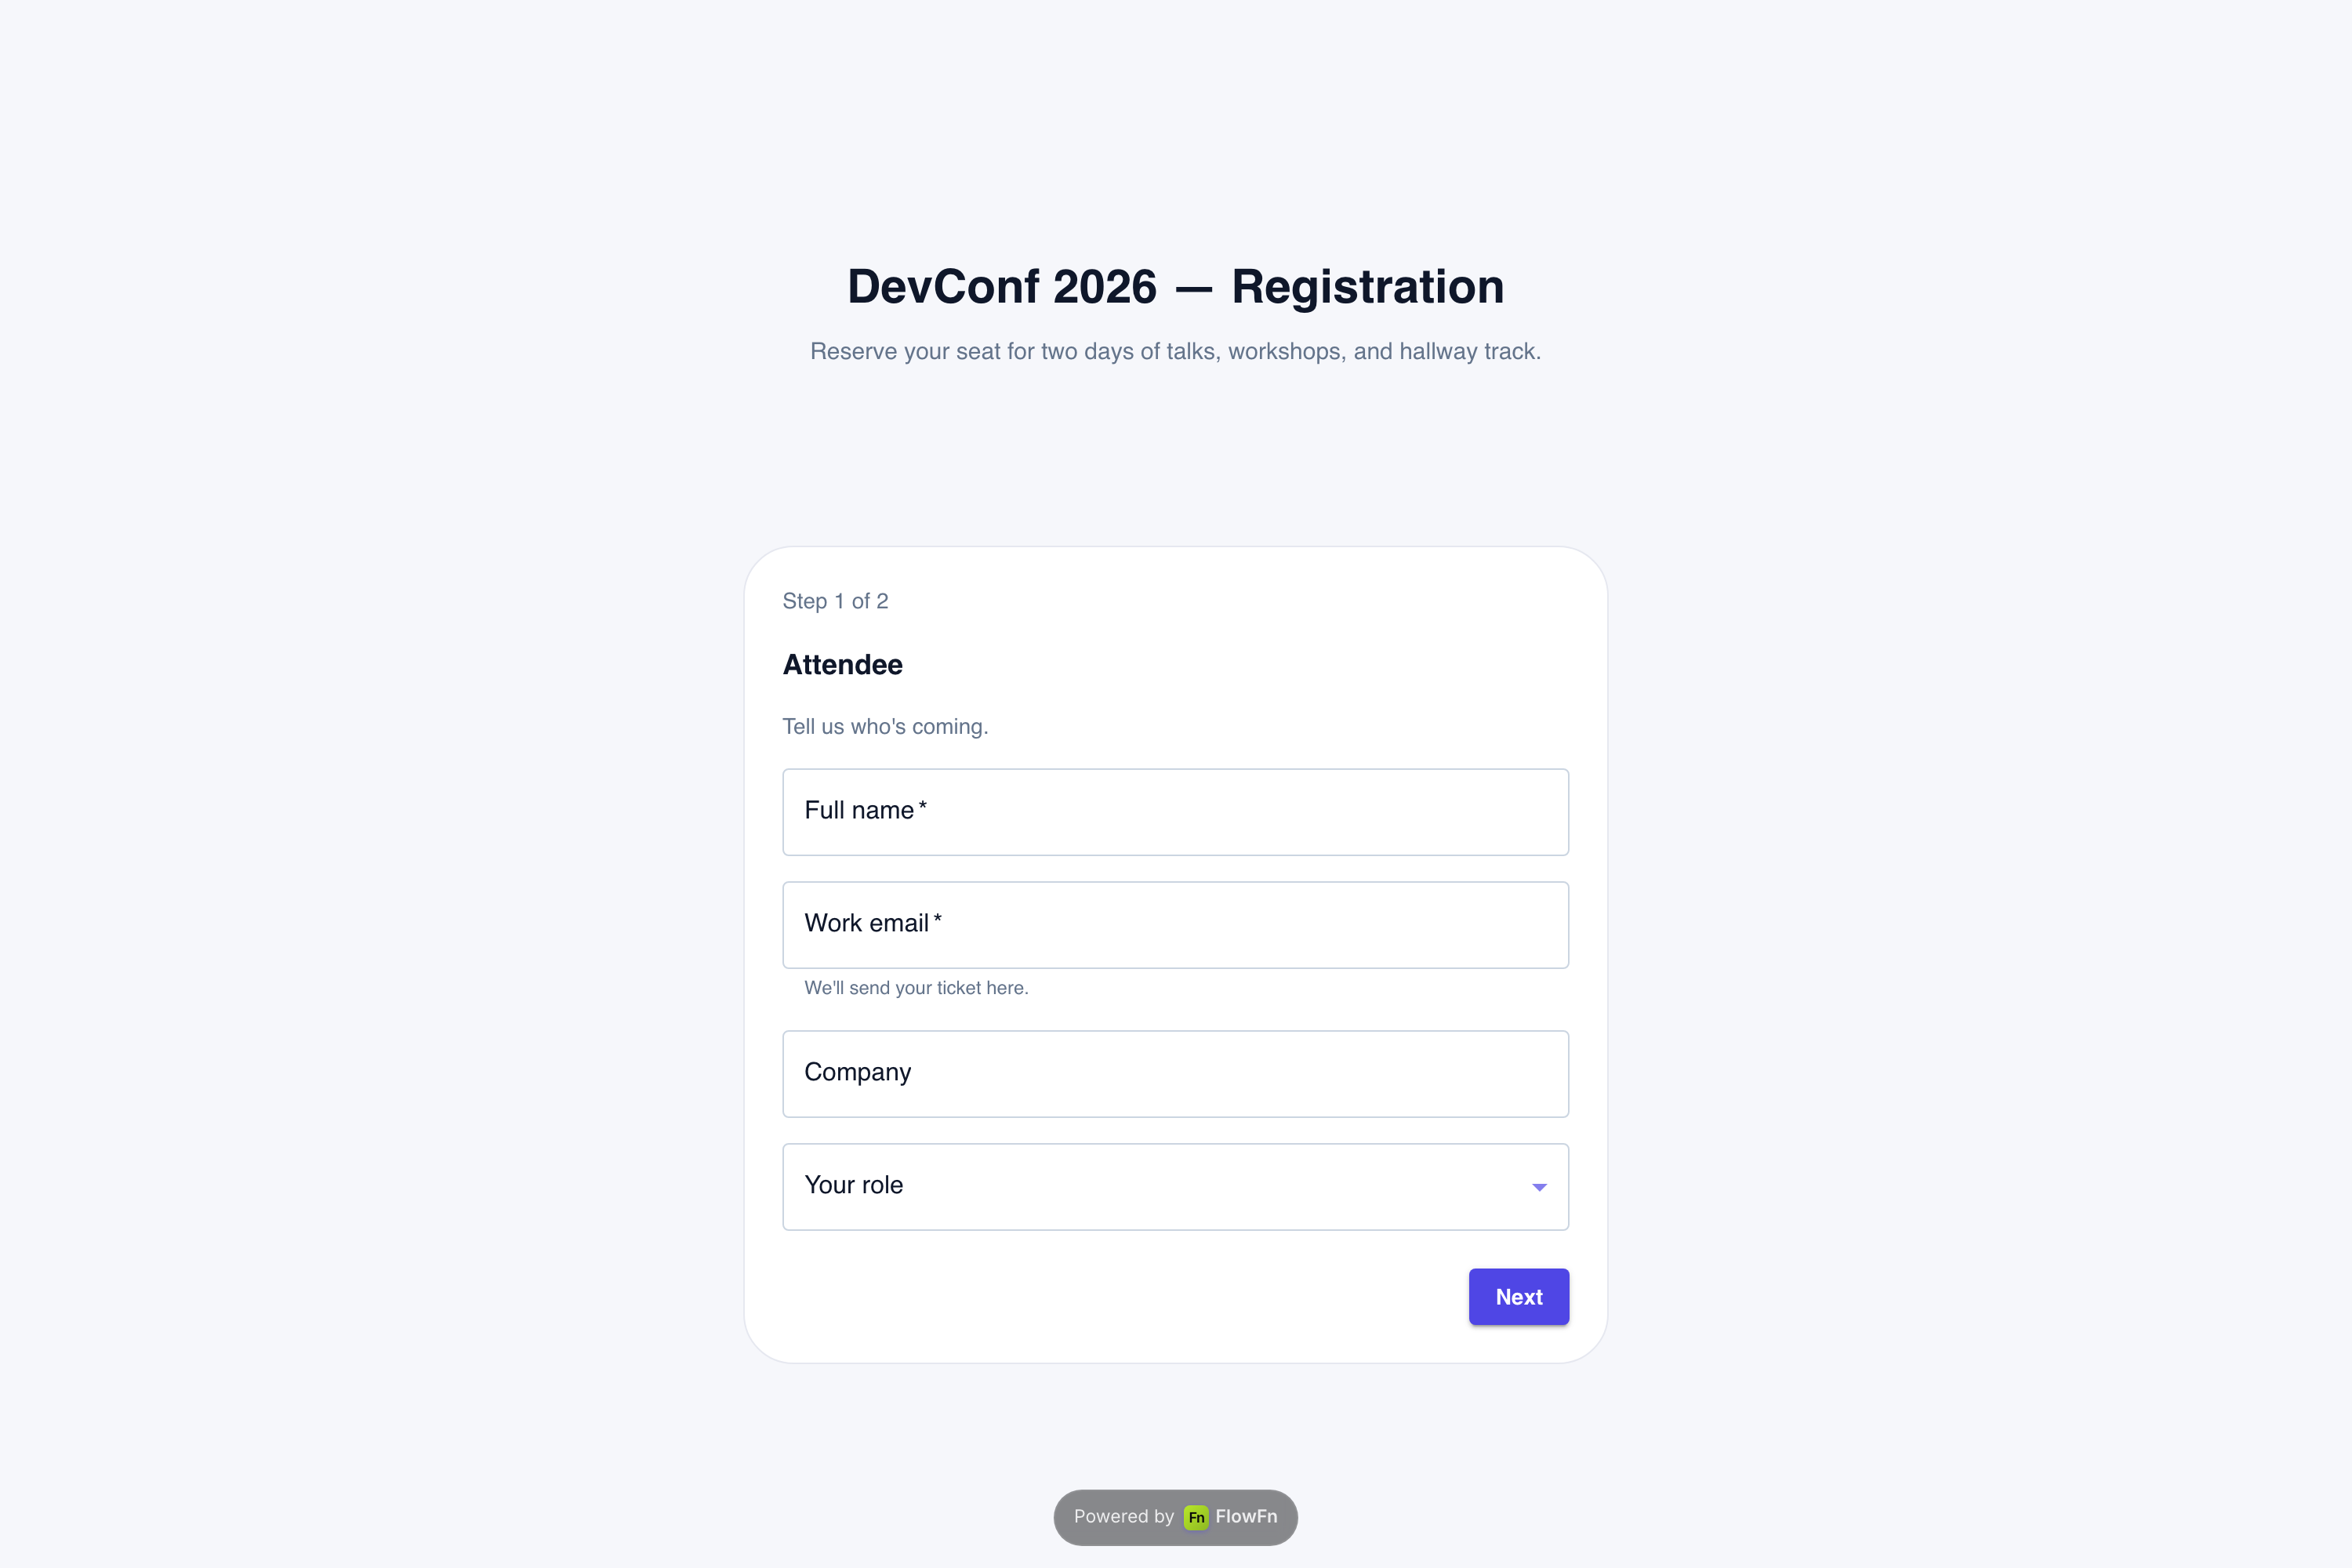
Branded colors, a two‑step layout ("Step 1 of 2"), required markers, helper text, a "Powered by FlowFn" footer. Let's build it.
Where forms live
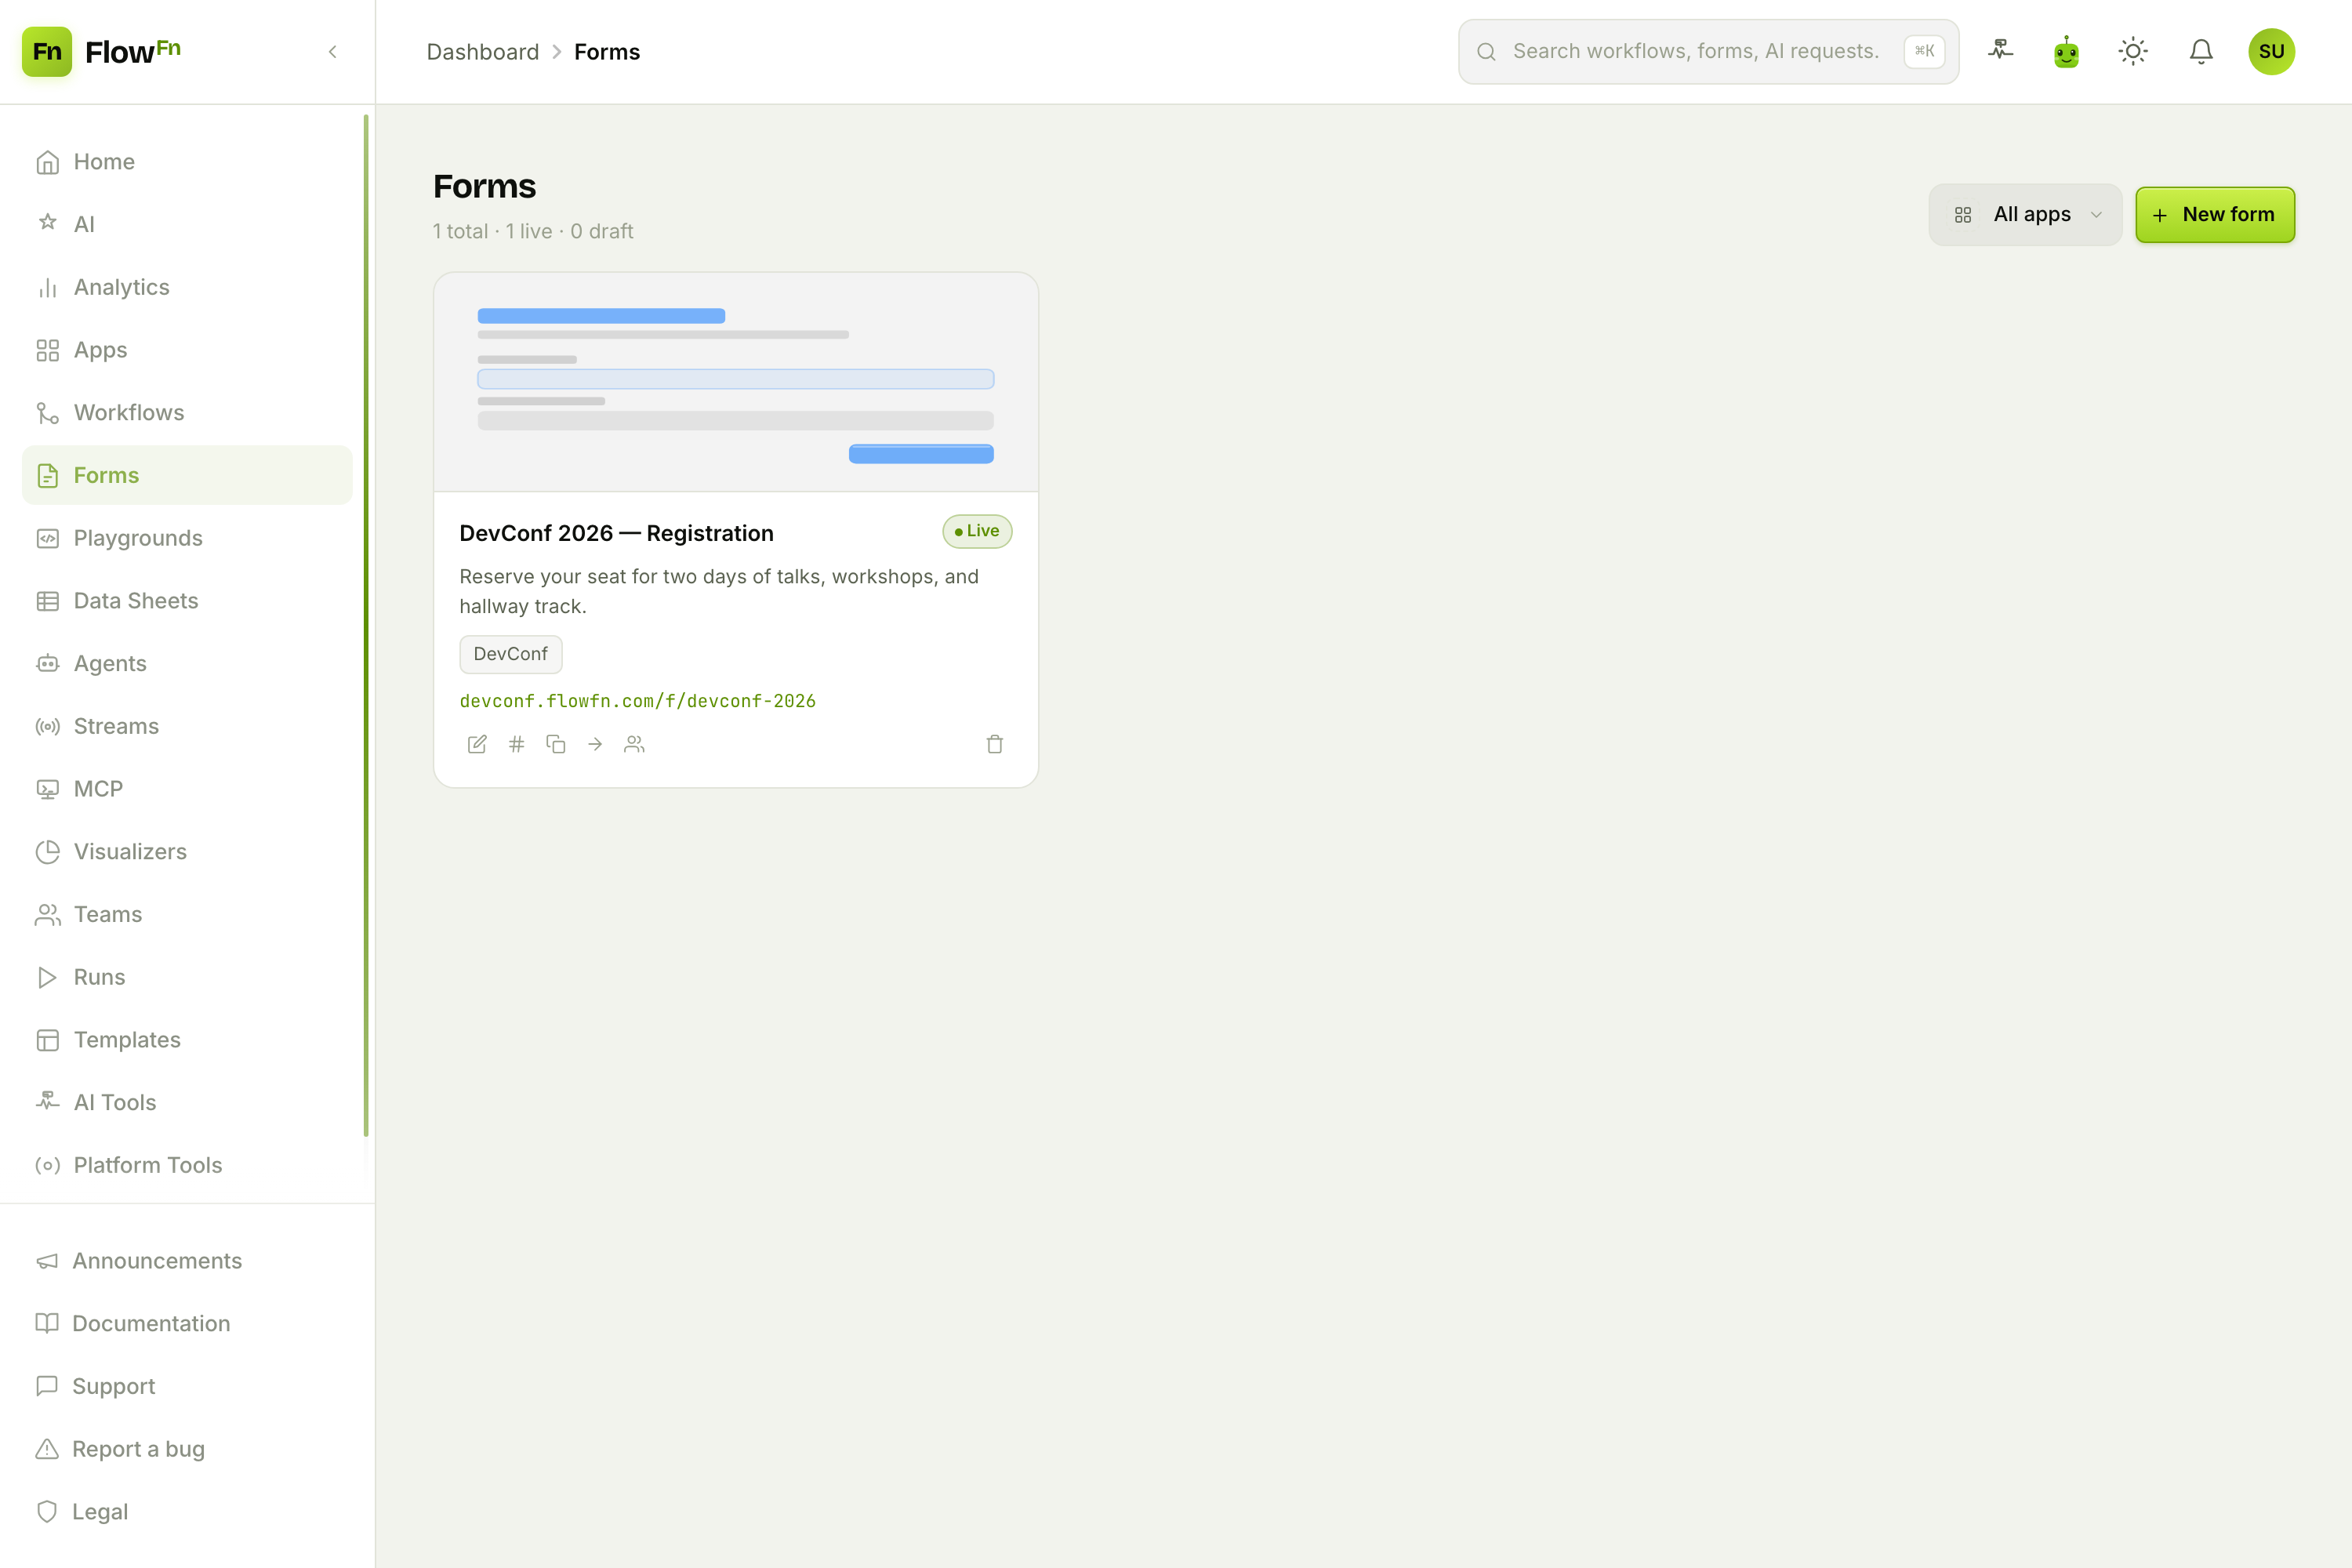
Every form belongs to one of your Apps (the container that also provides public hosting). Open Forms in the dashboard to see them all, then hit New form to drop into the editor.
The editor is a single page with tabs across the top — Details, Fields, Flow, Theme, Responses, Embed (a Password tab appears when the form isn't public). A status pill by the title flips the form between Draft, Published, and Archived; only a published form is served publicly.
Step 1 — Compose the fields
The Fields tab is where the form takes shape. A "Field Types" rail on the left, your form's sections in the middle.
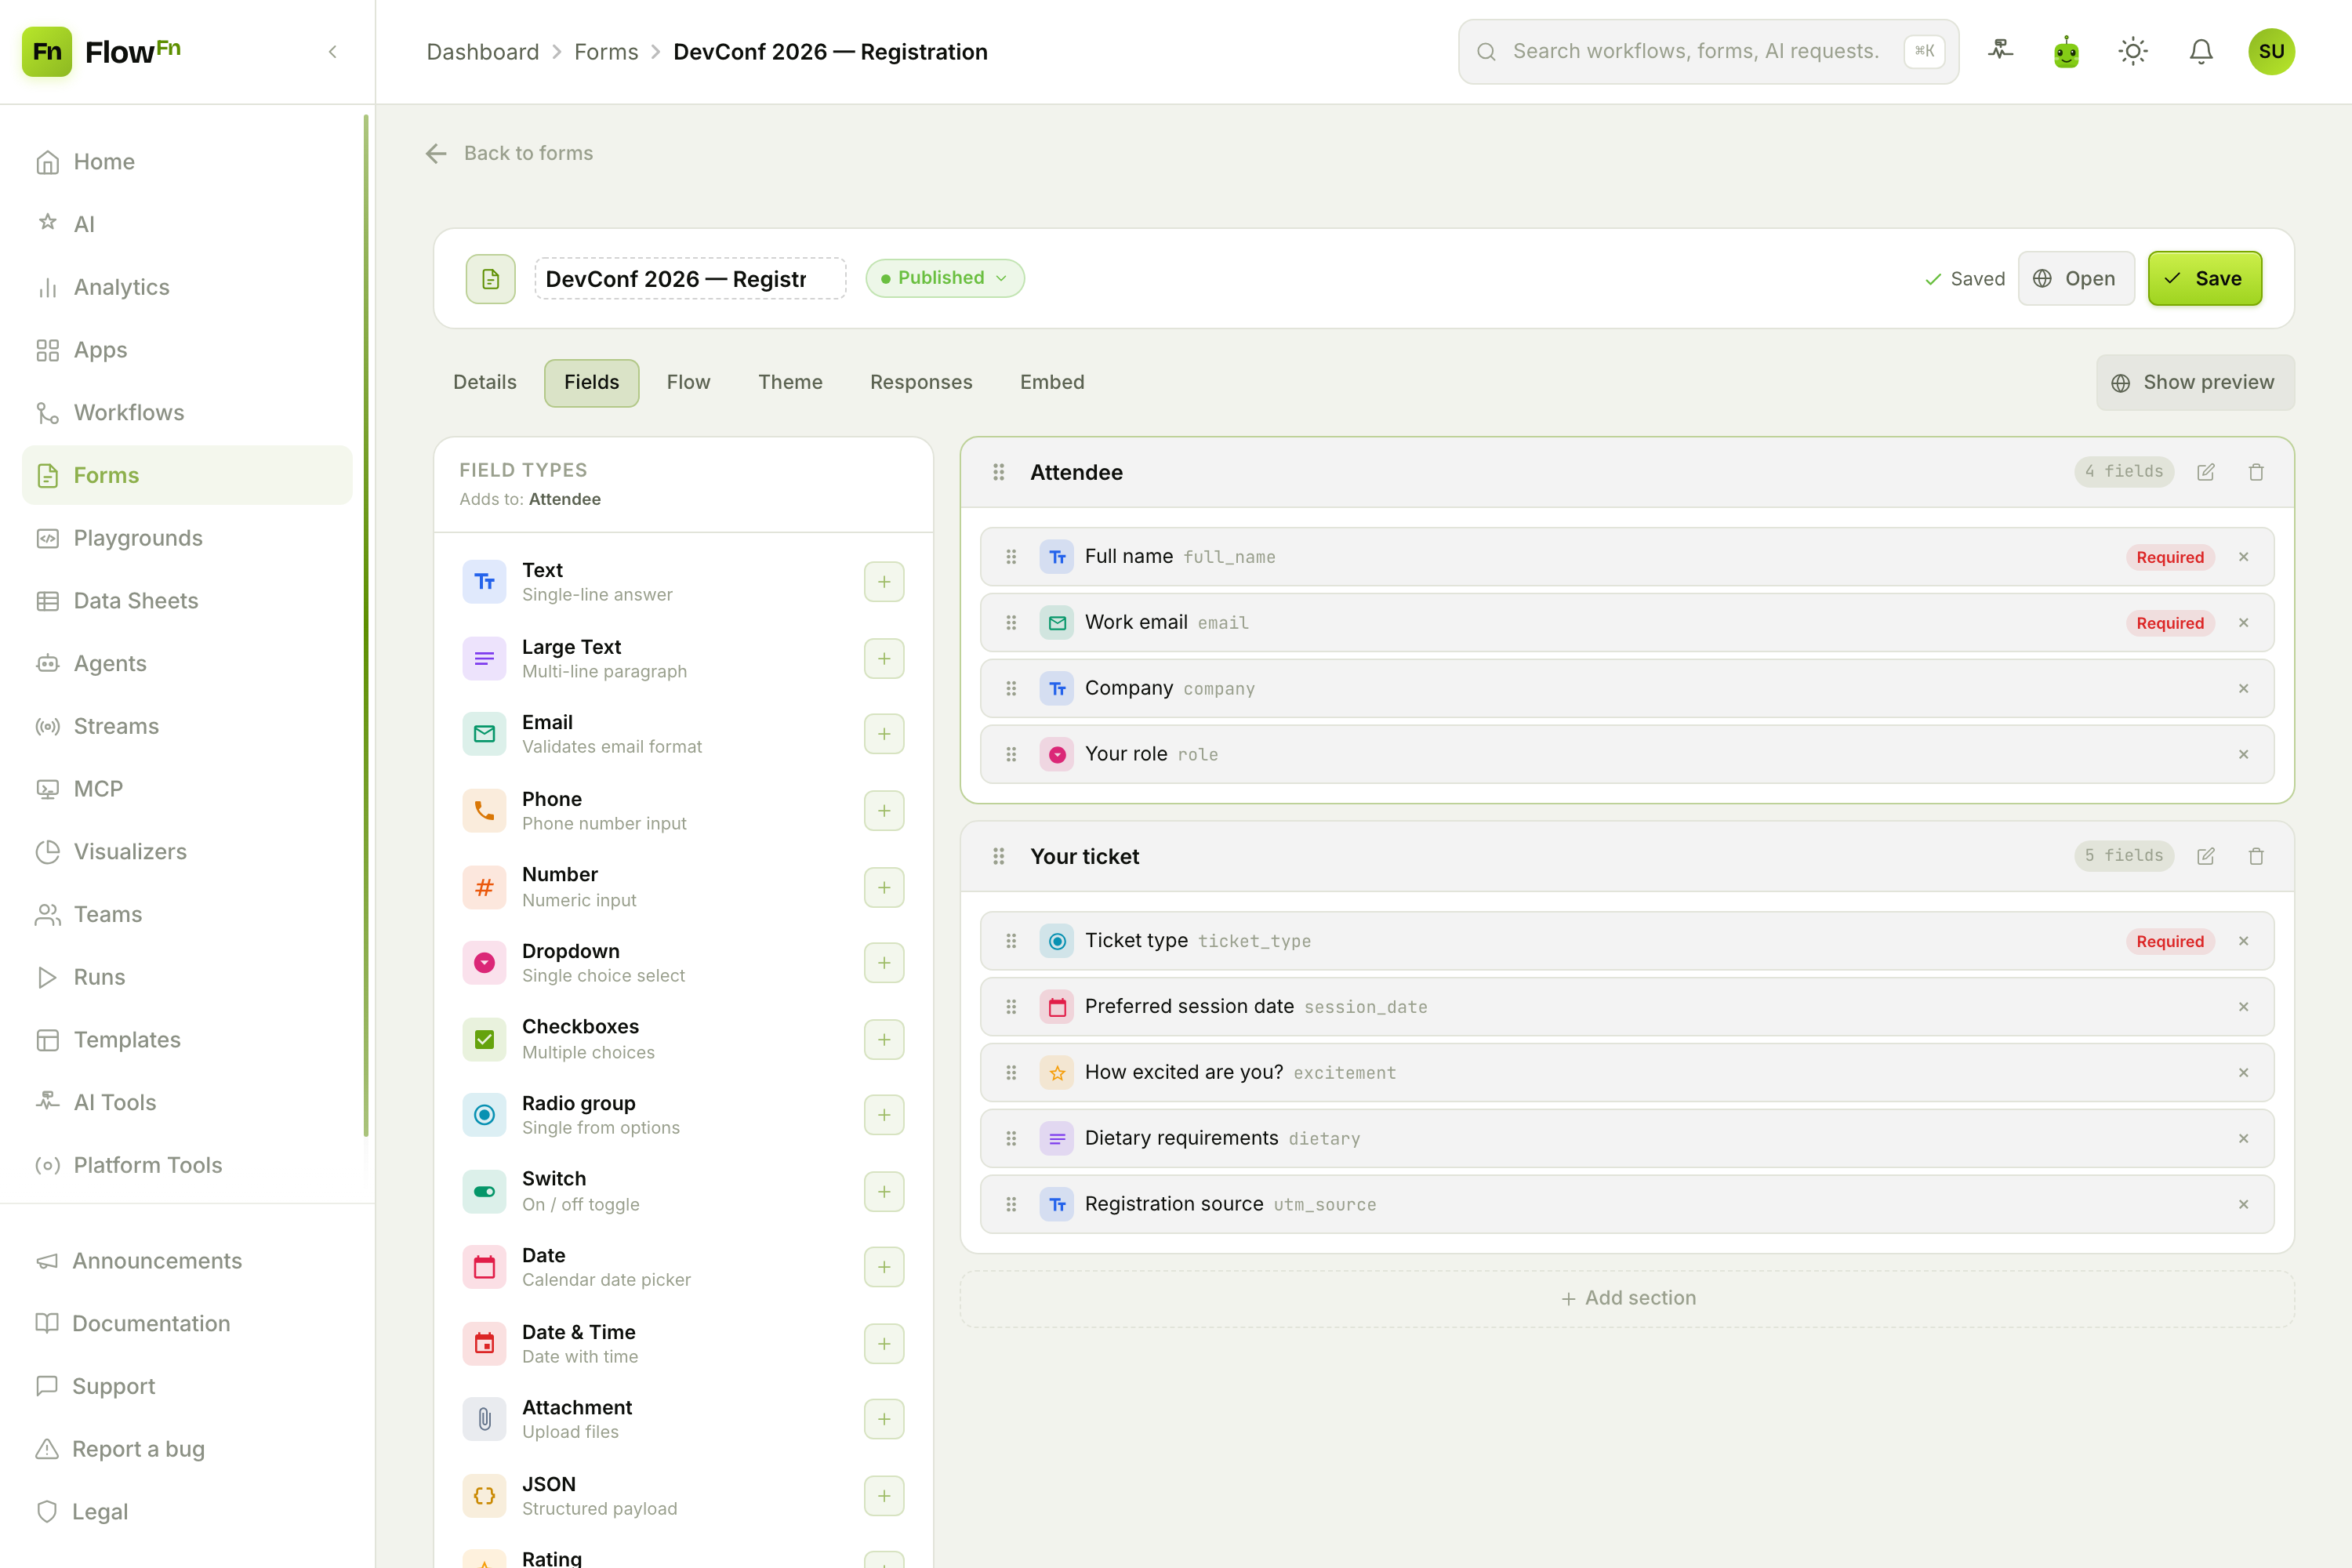
Fields live inside sections. Ours has two — Attendee and Your ticket — and a form always keeps at least one. Click a type in the rail (or drag it) to append a field; drag the handles to reorder fields and sections freely.
There are 17 field types, covering far more than plain text:
| Text — single line | Large Text — paragraph | Email — validates format |
| Phone | Number | Dropdown — single select |
| Checkboxes — multi | Radio group — single | Switch — on/off |
| Date | Date & Time | Attachment — file upload |
| Rating — 1–5 stars | NPS — 0–10 | Signature — drawn |
| Address — multi‑line | JSON — structured |
Each field row shows its label, its key (the snake‑case identifier that appears in submissions and integrations — full_name, ticket_type), and a red Required pill. Click any row to open the Edit field drawer:
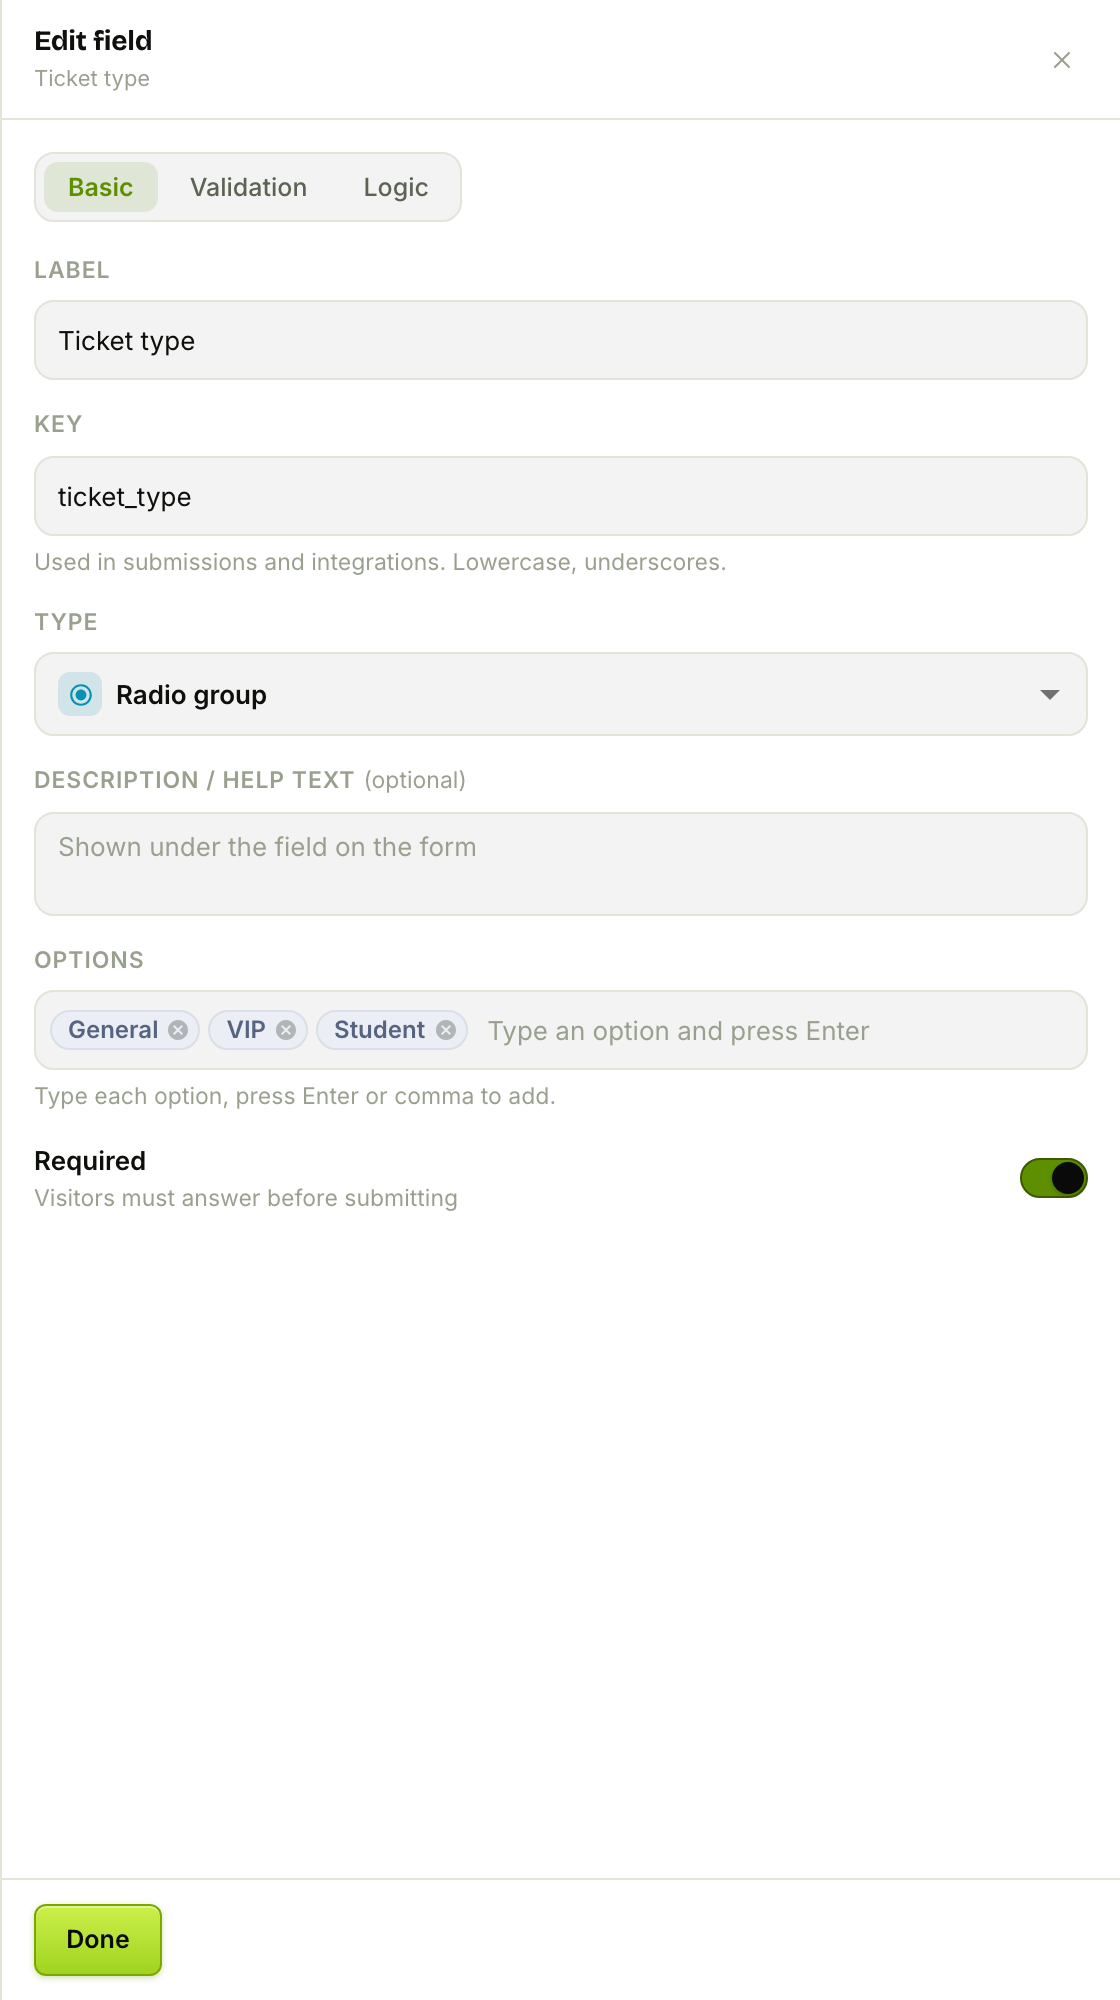
The drawer has three tabs:
- Basic — label, key, type, help text, choice Options (for dropdown/radio/checkbox, added as tags), and the Required toggle.
- Validation — an optional regex Pattern, min/max length, numeric range, and a custom error message. Rules only run when you set them, layered on top of required.
- Logic — conditional visibility and URL prefill (next section).
Tip the toggle to Required and a visitor can't submit without answering. Everything else is optional refinement.
Step 2 — Show fields only when they're relevant
Nobody wants to answer questions that don't apply to them. On a field's Logic tab you can make it appear (or disappear) based on another answer.
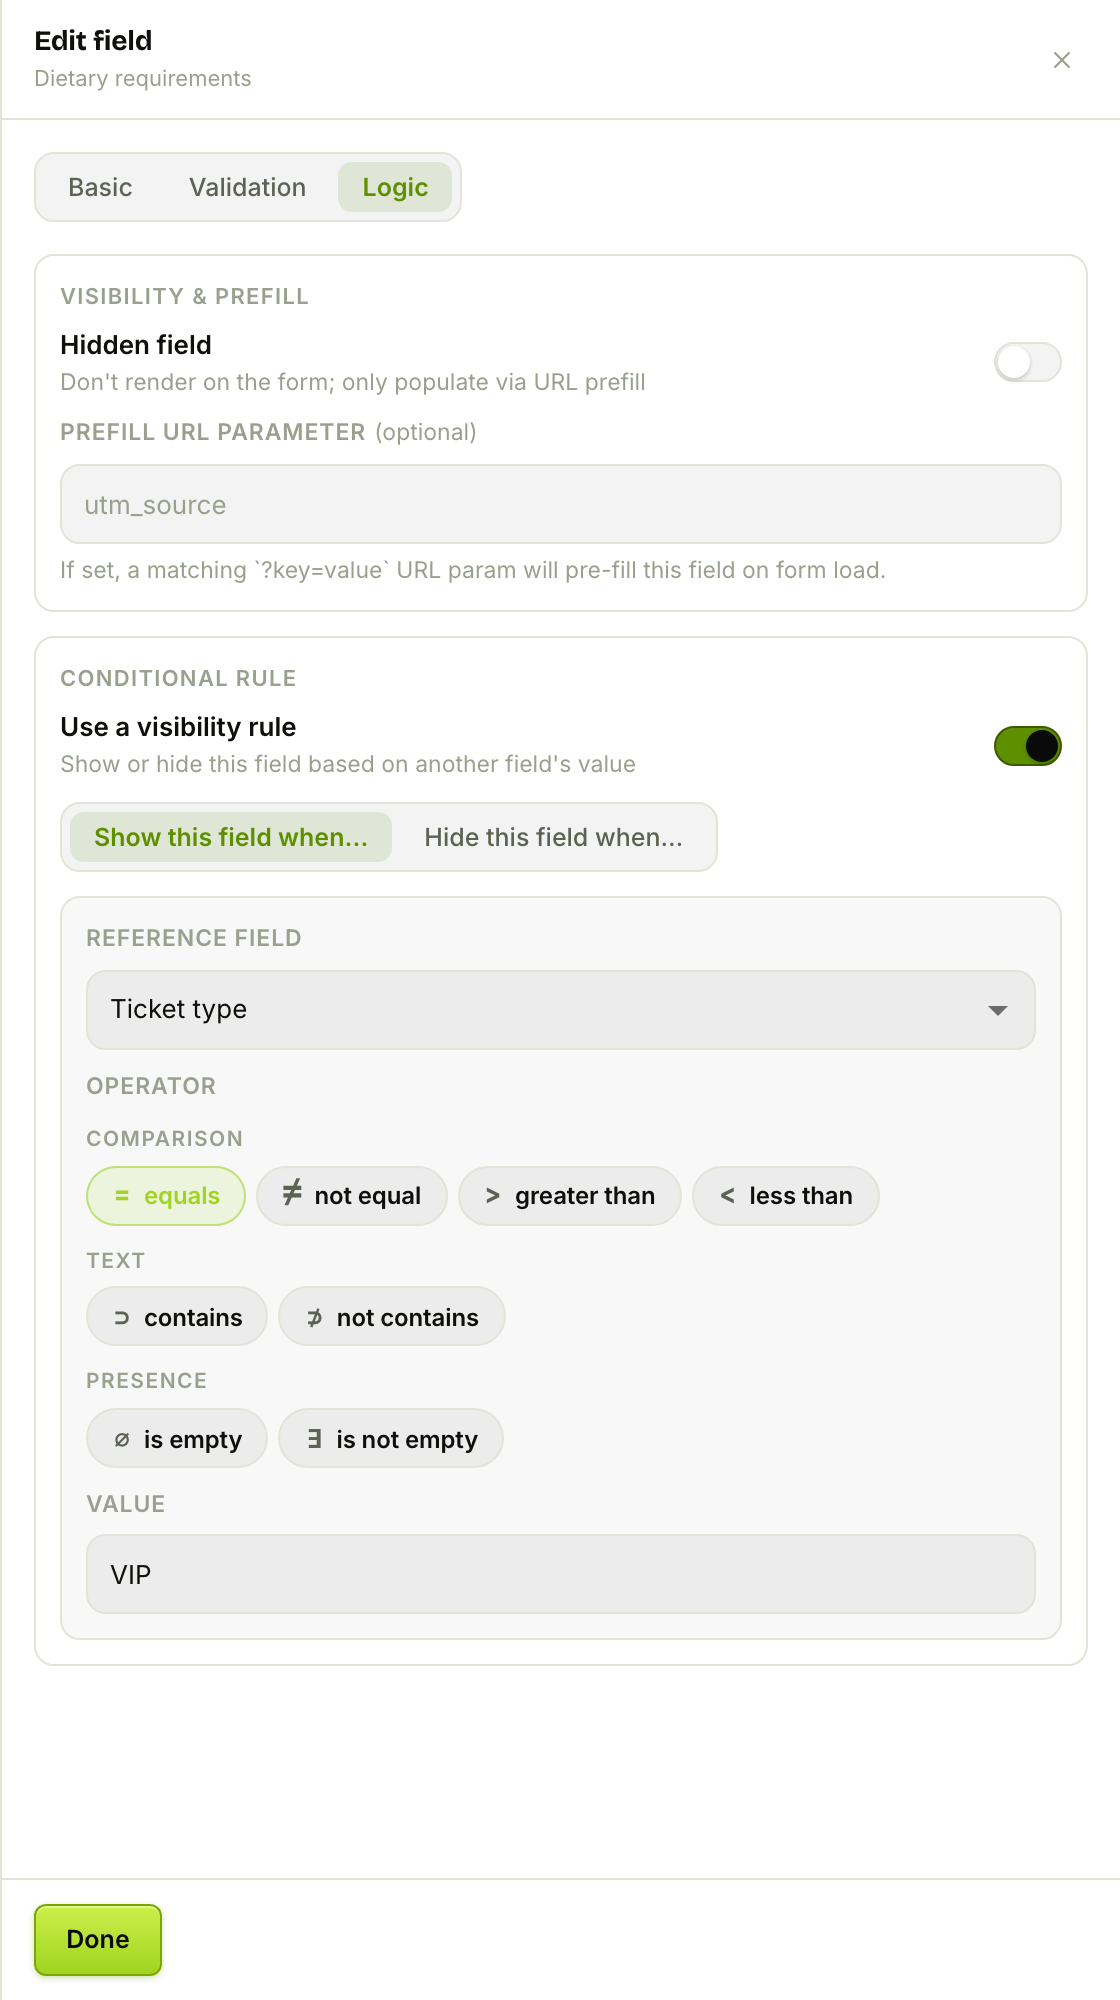
Here, Dietary requirements has one rule: Show this field when Ticket type equals VIP (VIP tickets include the speakers' dinner). The reference field is any other field in the same section; the operator palette covers comparison (equals, not equal, greater/less than), text (contains, not contains), and presence (is empty, is not empty).
The same tab has two more tricks:
- Hidden field — never renders, but can still be populated…
- Prefill URL parameter — …from the URL. Set
utm_sourceand a link like?utm_source=newslettersilently captures attribution on load.
One rule per field, referencing a sibling — simple, but enough to make a form feel smart.
Step 3 — Wrap it in a flow
The Flow tab turns a flat list of fields into an experience.
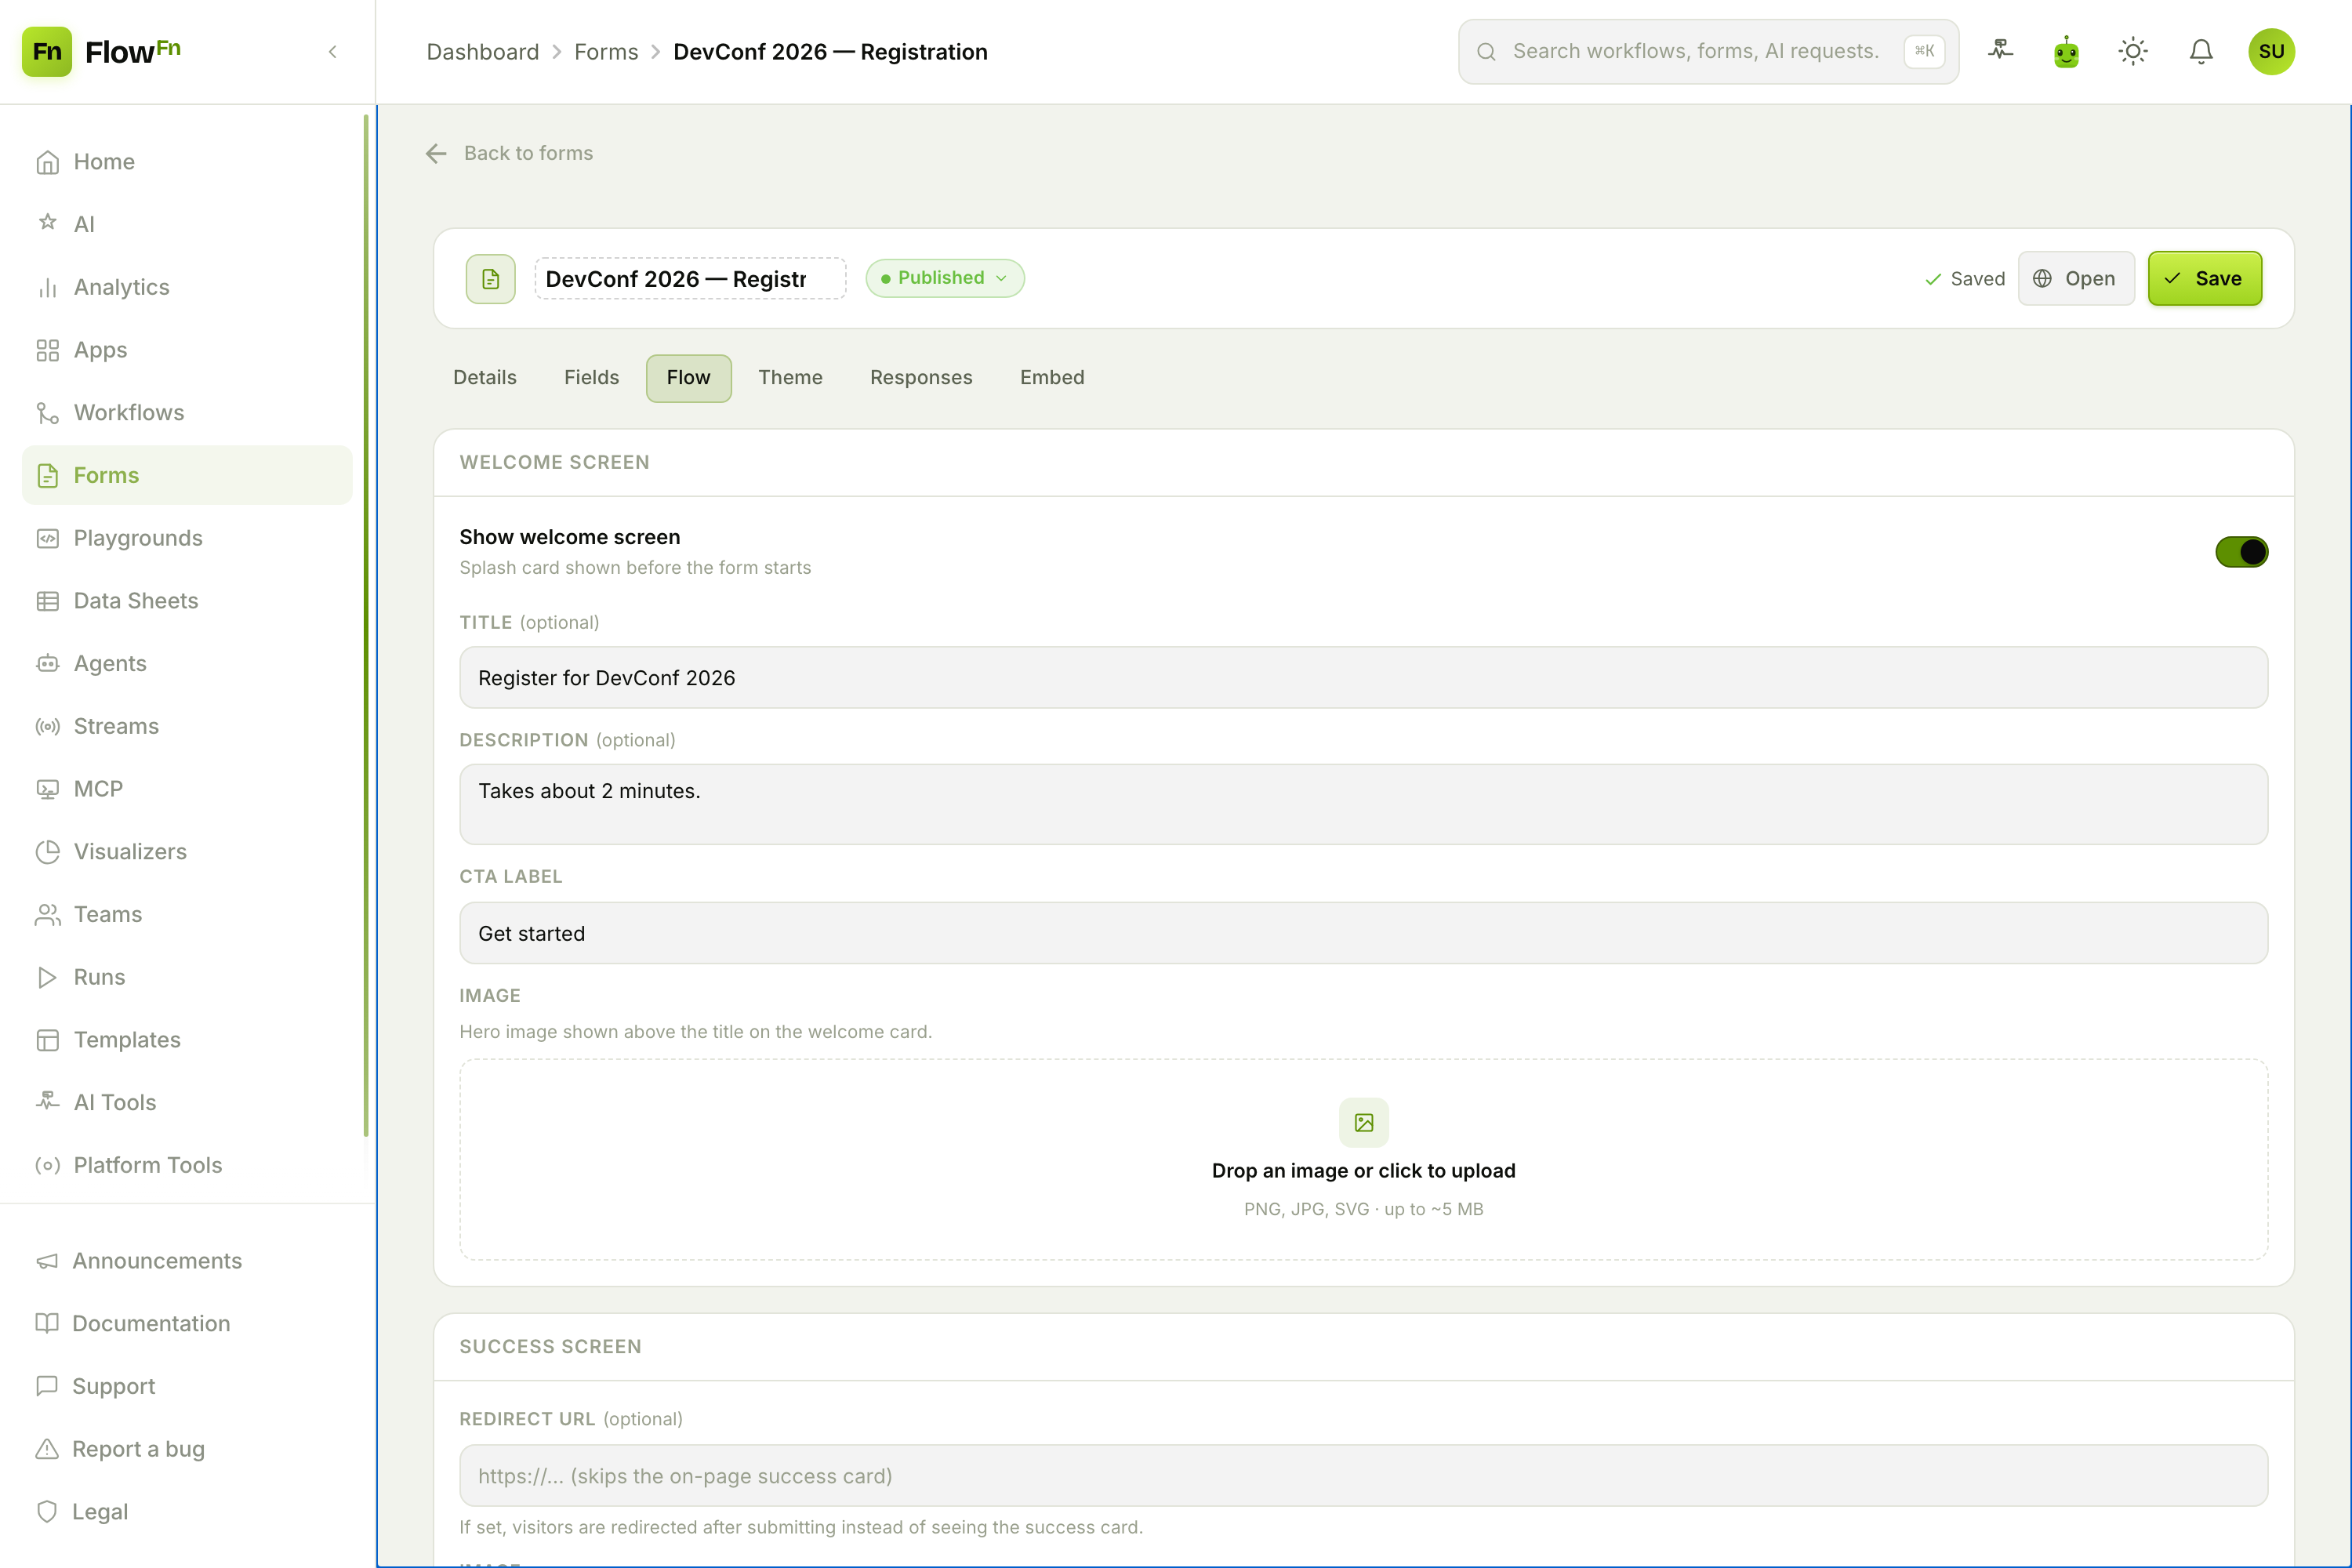
- Welcome screen — a splash card (title, description, CTA, optional hero image) shown before the form. Ours greets visitors with "Register for DevConf 2026 — takes about 2 minutes" and a Get started button.
- Success screen — what happens after submit: a thank‑you card (with optional image and CTA), or a redirect URL that bounces the visitor onward (say, to a Stripe checkout).
- Submission limits — a lifetime max submissions cap and a close date; hit either and the public page automatically shows a "This form is closed" state.
And because our form has two sections, the public page renders as a stepper ("Step 1 of 2") with Back/Next that validate each step before advancing — no configuration needed.
Step 4 — Make it yours
Two independent appearance controls live on the Theme tab.
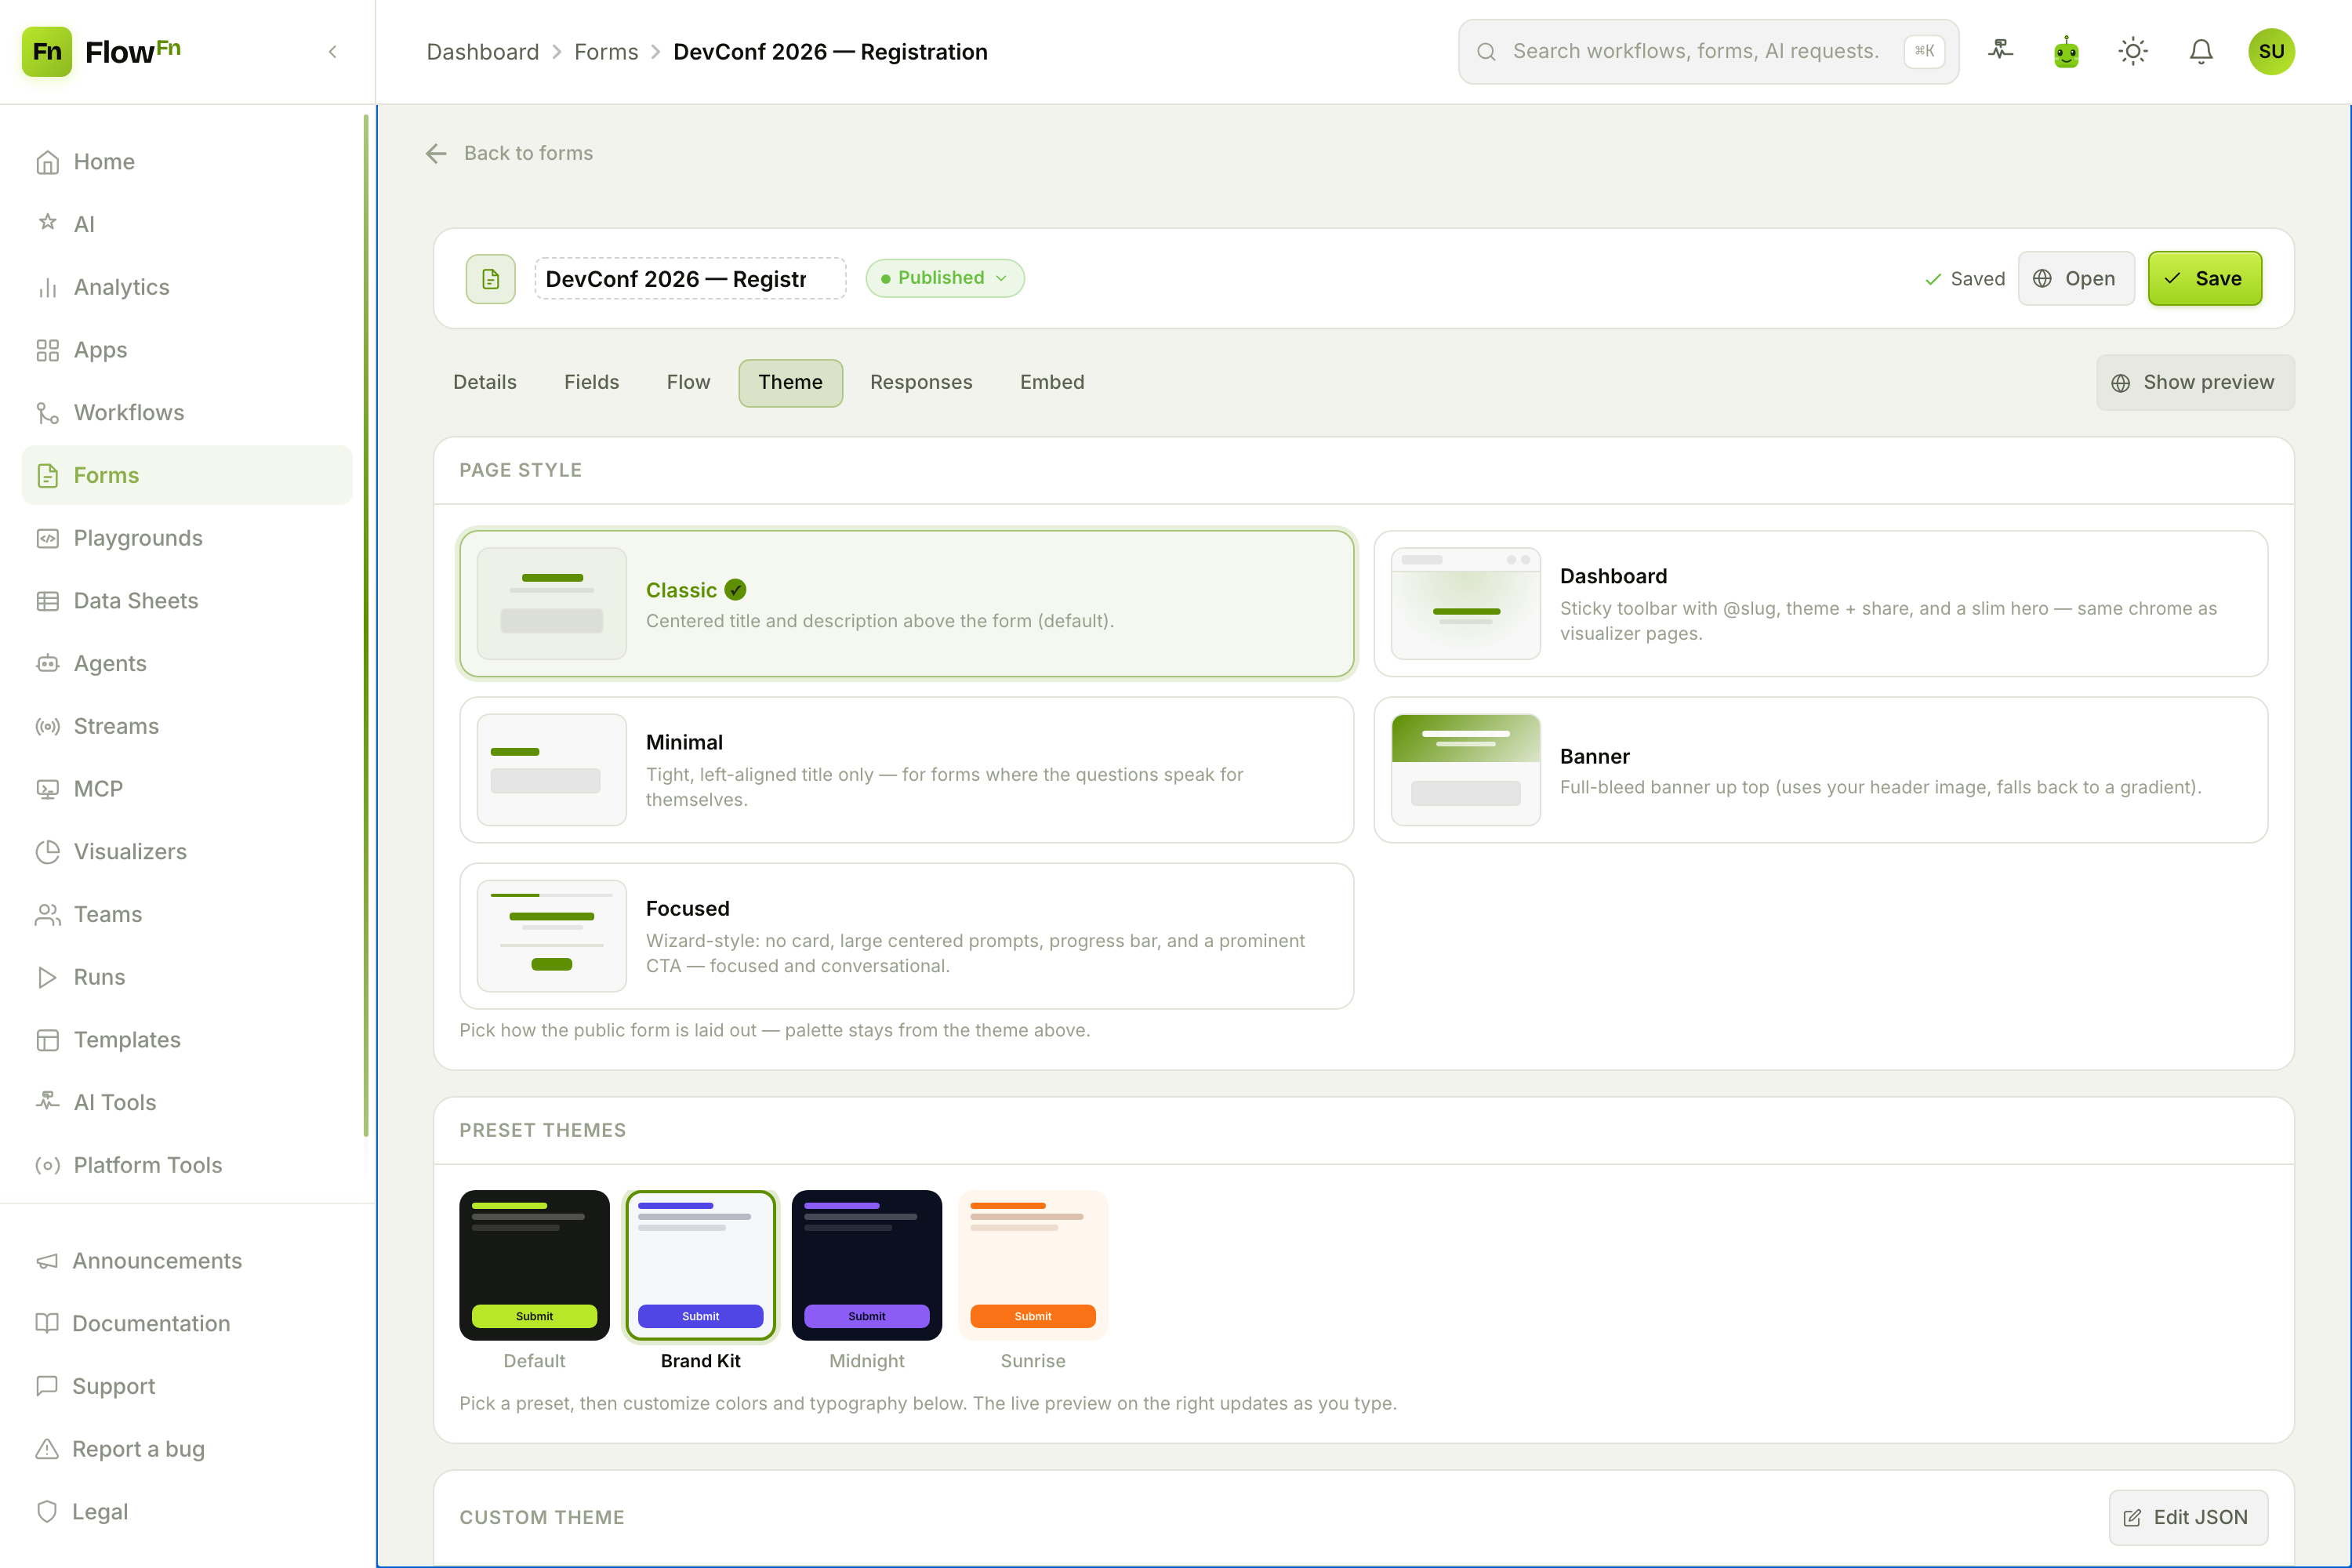
Page Style sets the layout of the public page — five options:
- Classic — centered title + description above the form (the default).
- Dashboard — a sticky toolbar with the
@slug, a light/dark toggle, and a share popover. - Minimal — a tight, left‑aligned title; let the questions speak.
- Banner — a full‑bleed header image up top (gradient fallback).
- Focused — a Typeform‑style wizard: no card, one big prompt at a time, a progress bar.
Preset Themes set the colors and type. Start from the built‑in Default, or an admin‑published brand preset, then fine‑tune in the custom‑theme editor: primary/secondary/background colors (with a hex picker), a curated Google font, border radius, and max width. Picking a preset copies it into this form so your edits are yours alone. (Page style and theme are orthogonal — layout from one, palette from the other.)
That indigo Next button on our public form? It came from the Brand Kit theme.
Step 5 — Decide who gets in, and publish
The Details tab controls the URL and access.
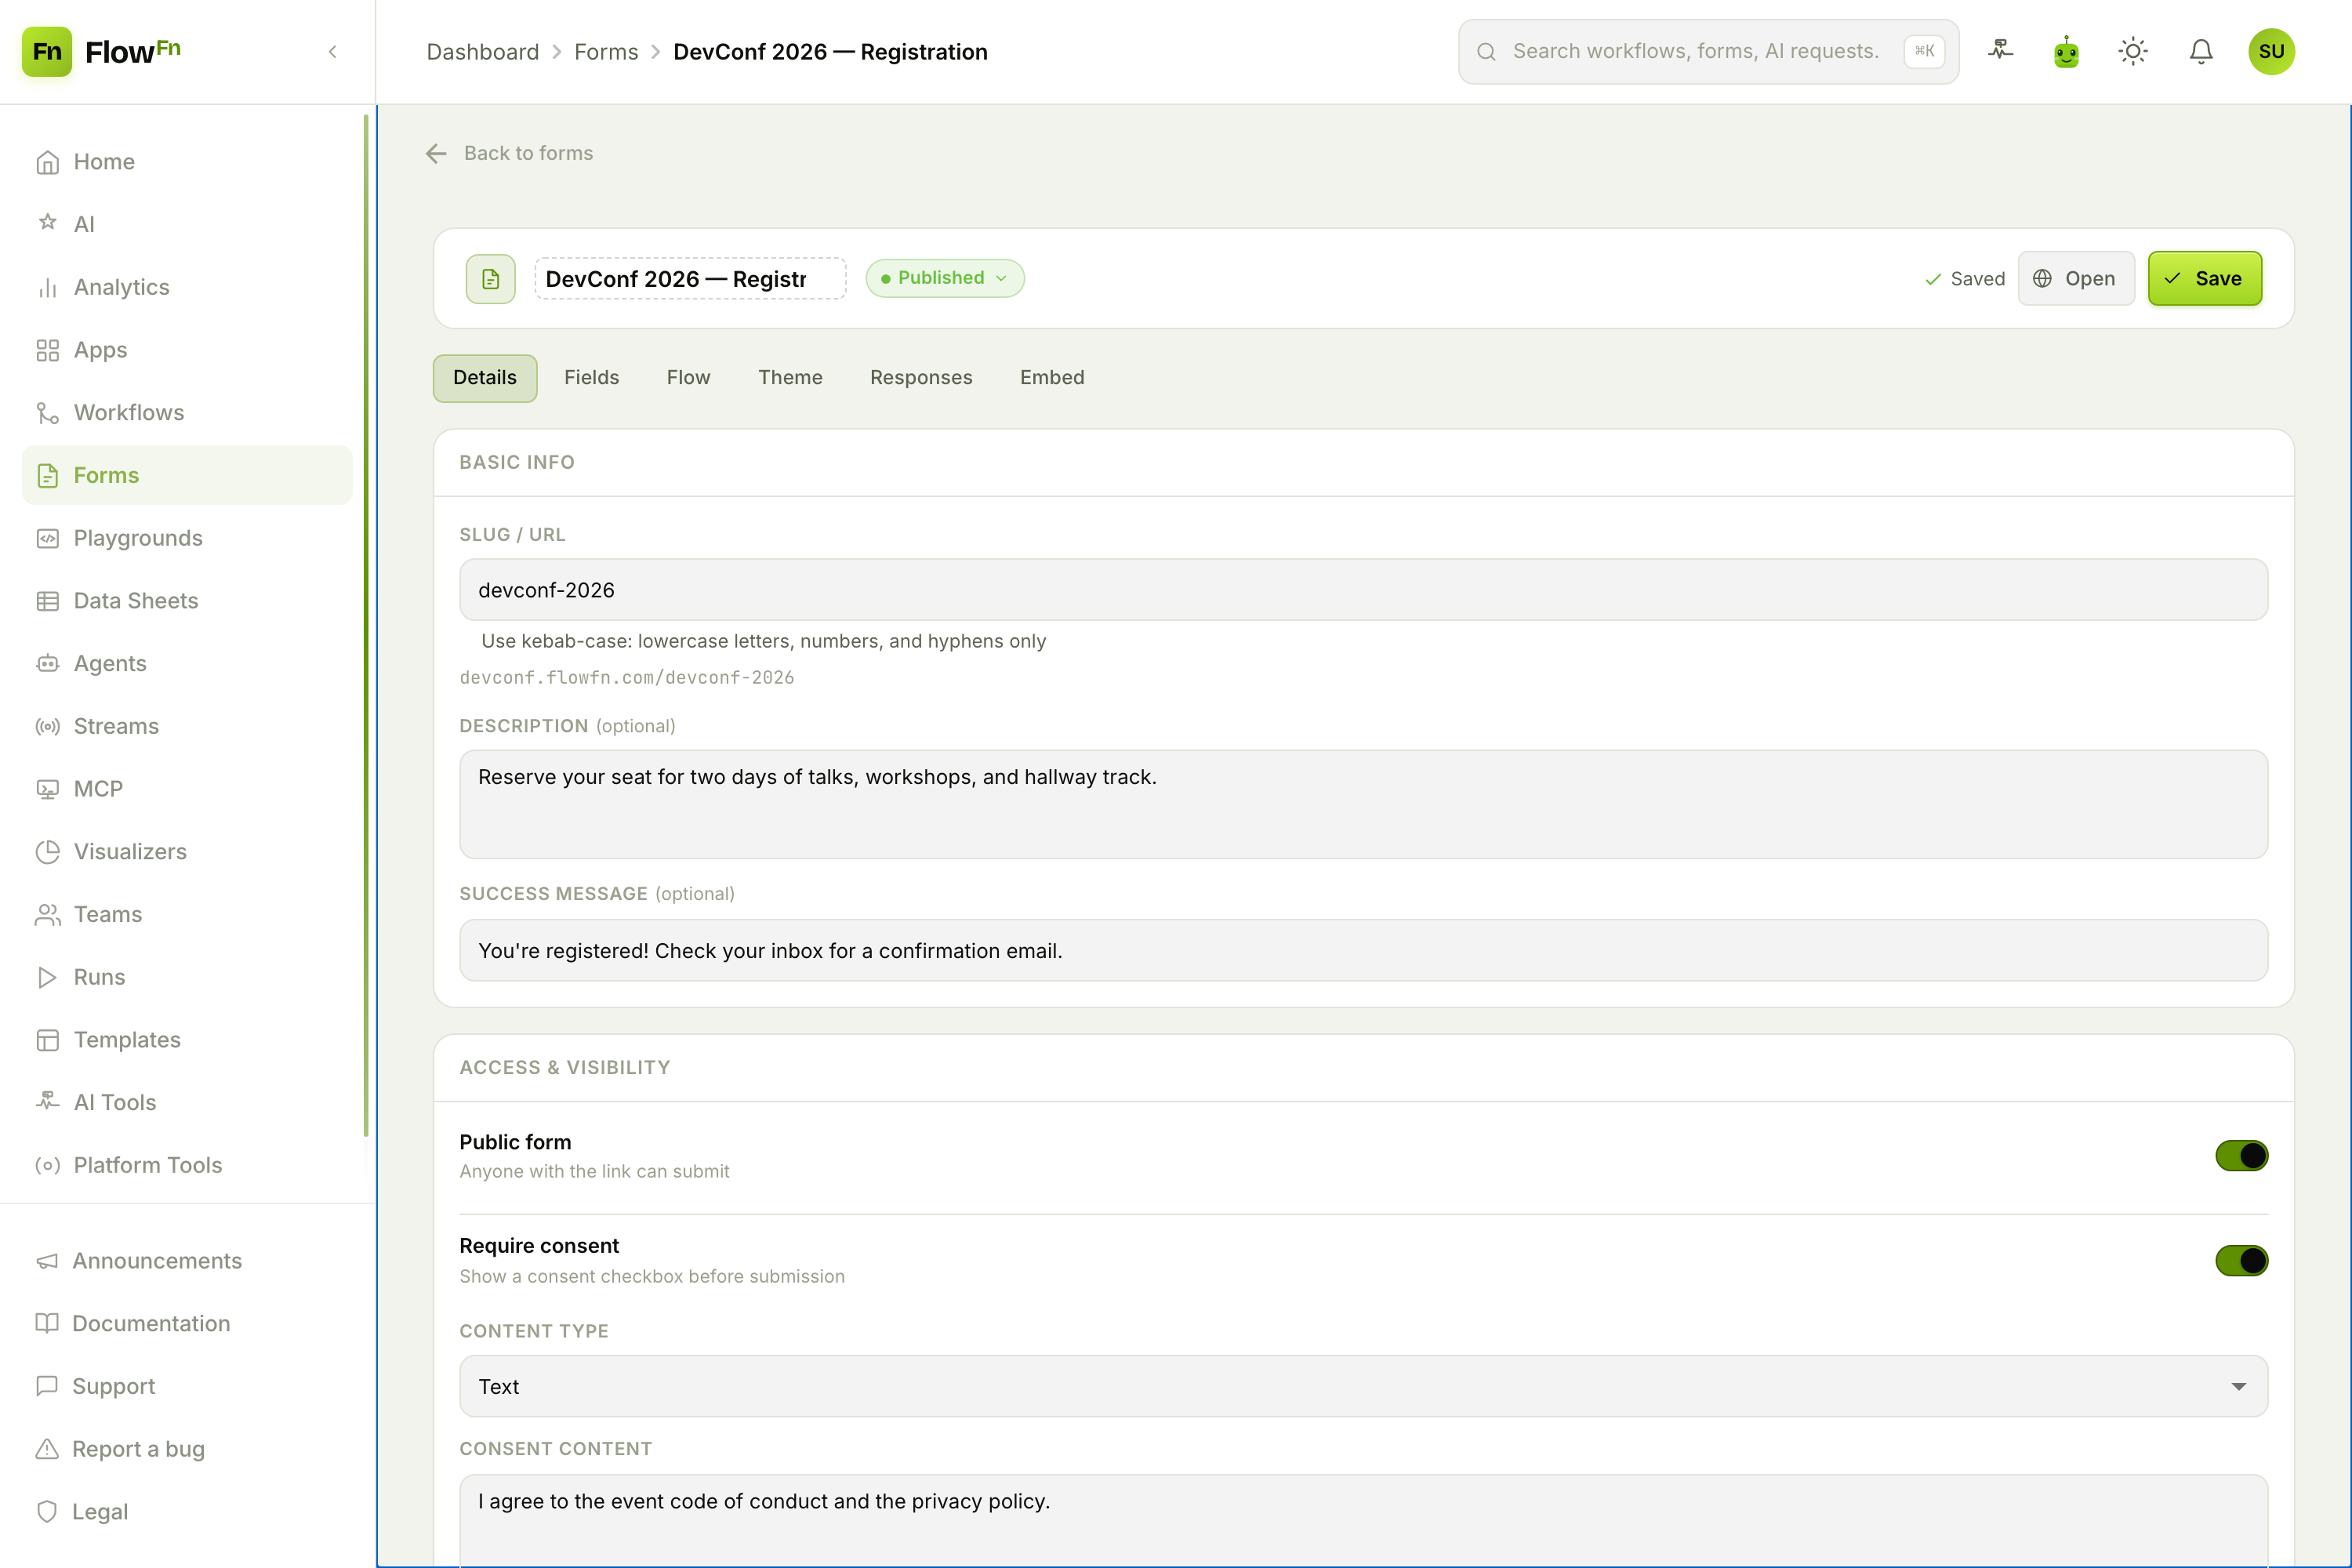
- Slug — the kebab‑case URL segment (
devconf-2026), checked live for availability. Your form lives atyourapp.flowfn.com/f/<slug>(or your custom domain). - Access is binary: a form is either Public (anyone with the link) or password‑protected (a shared password on the Password tab — which hides itself while the form is public). Setting a password flips the form private; making it public clears the password. (There's no member‑login mode — that's a Playgrounds thing.)
- Require consent — a GDPR consent checkbox (plain text or HTML). It's enforced server‑side, and each submission stores a hash of exactly which consent text the visitor agreed to.
- Search visibility (SEO) — a separate card lets published, public, password‑free forms opt into indexing with an SEO title/description/keywords.
Flip the status pill to Published and your form is live.
Step 6 — Share it, or embed it anywhere
The public link is one way to share. The Embed tab is the other.
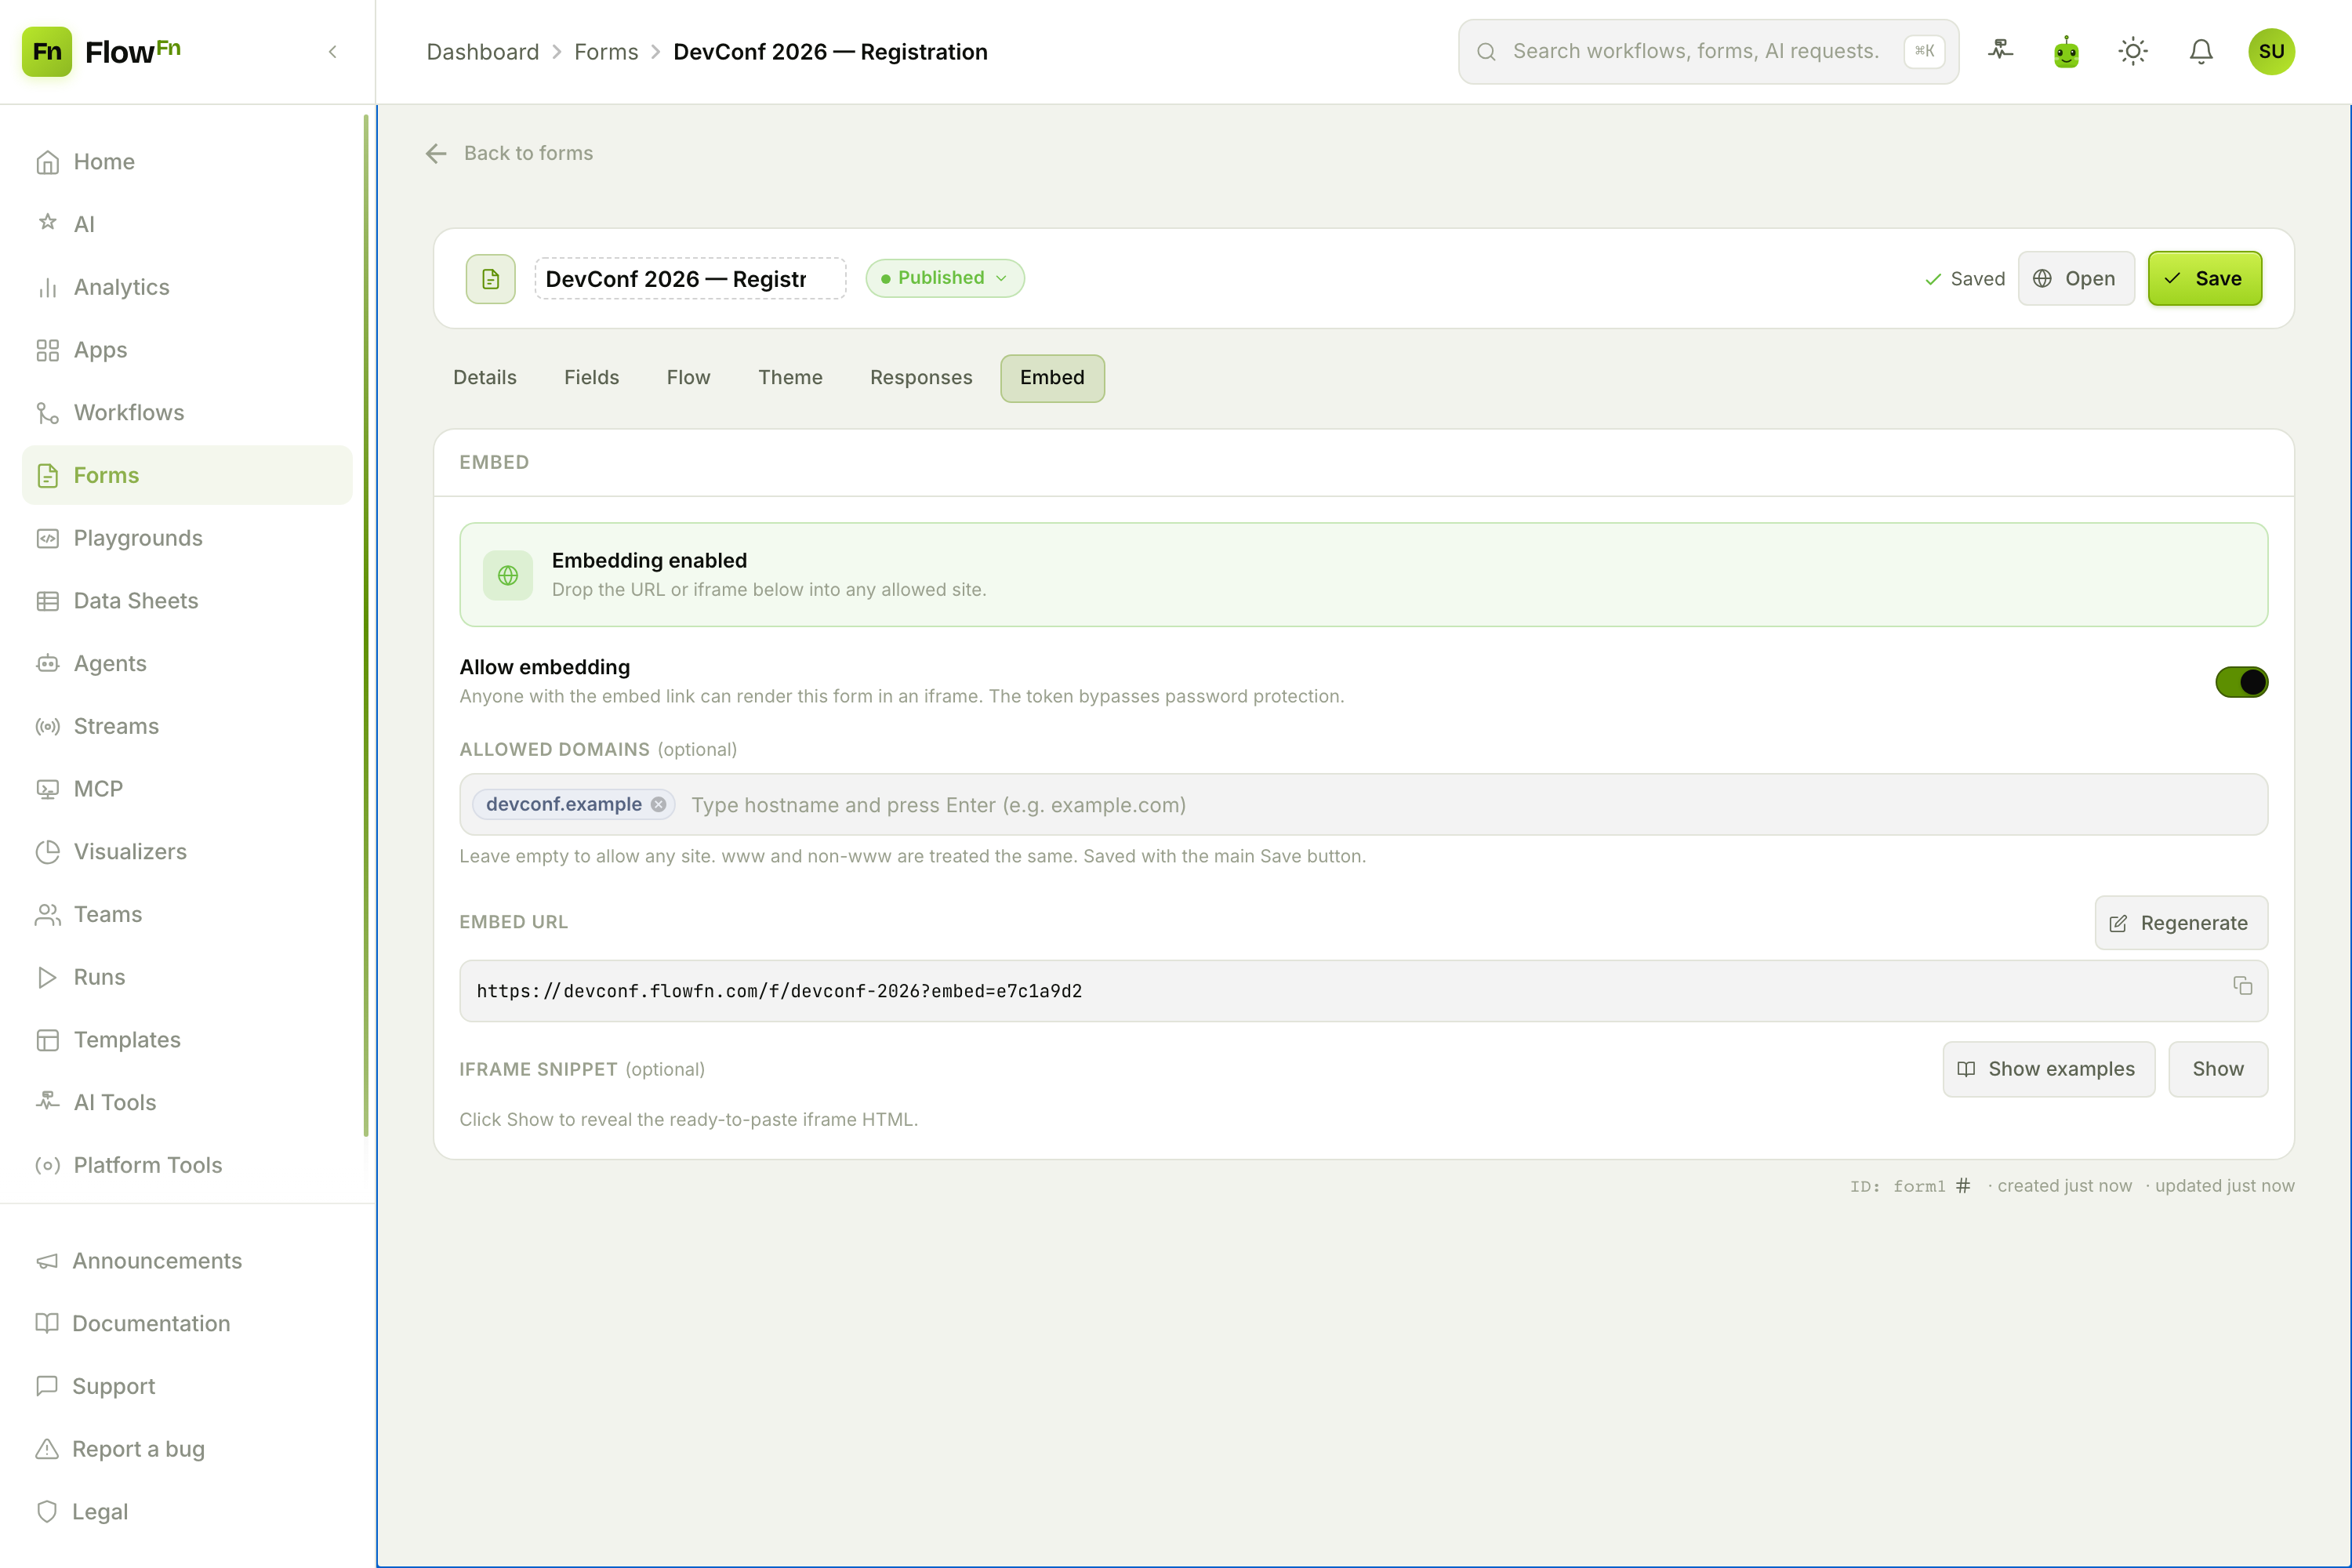
Flip Allow embedding and FlowFn mints a token, giving you a ready‑to‑paste embed URL (…flowfn.com/f/devconf-2026?embed=e7c1a9d2) and iframe snippet you can drop into Webflow, WordPress, or any site. Lock it to specific allowed domains so it can't be hot‑linked, and Regenerate rotates the token instantly if a link ever leaks. Combined with those prefill_param fields, your marketing links can pre‑fill attribution the moment the iframe loads.
Step 7 — Collect and read the responses
Every submission lands in the Responses tab.
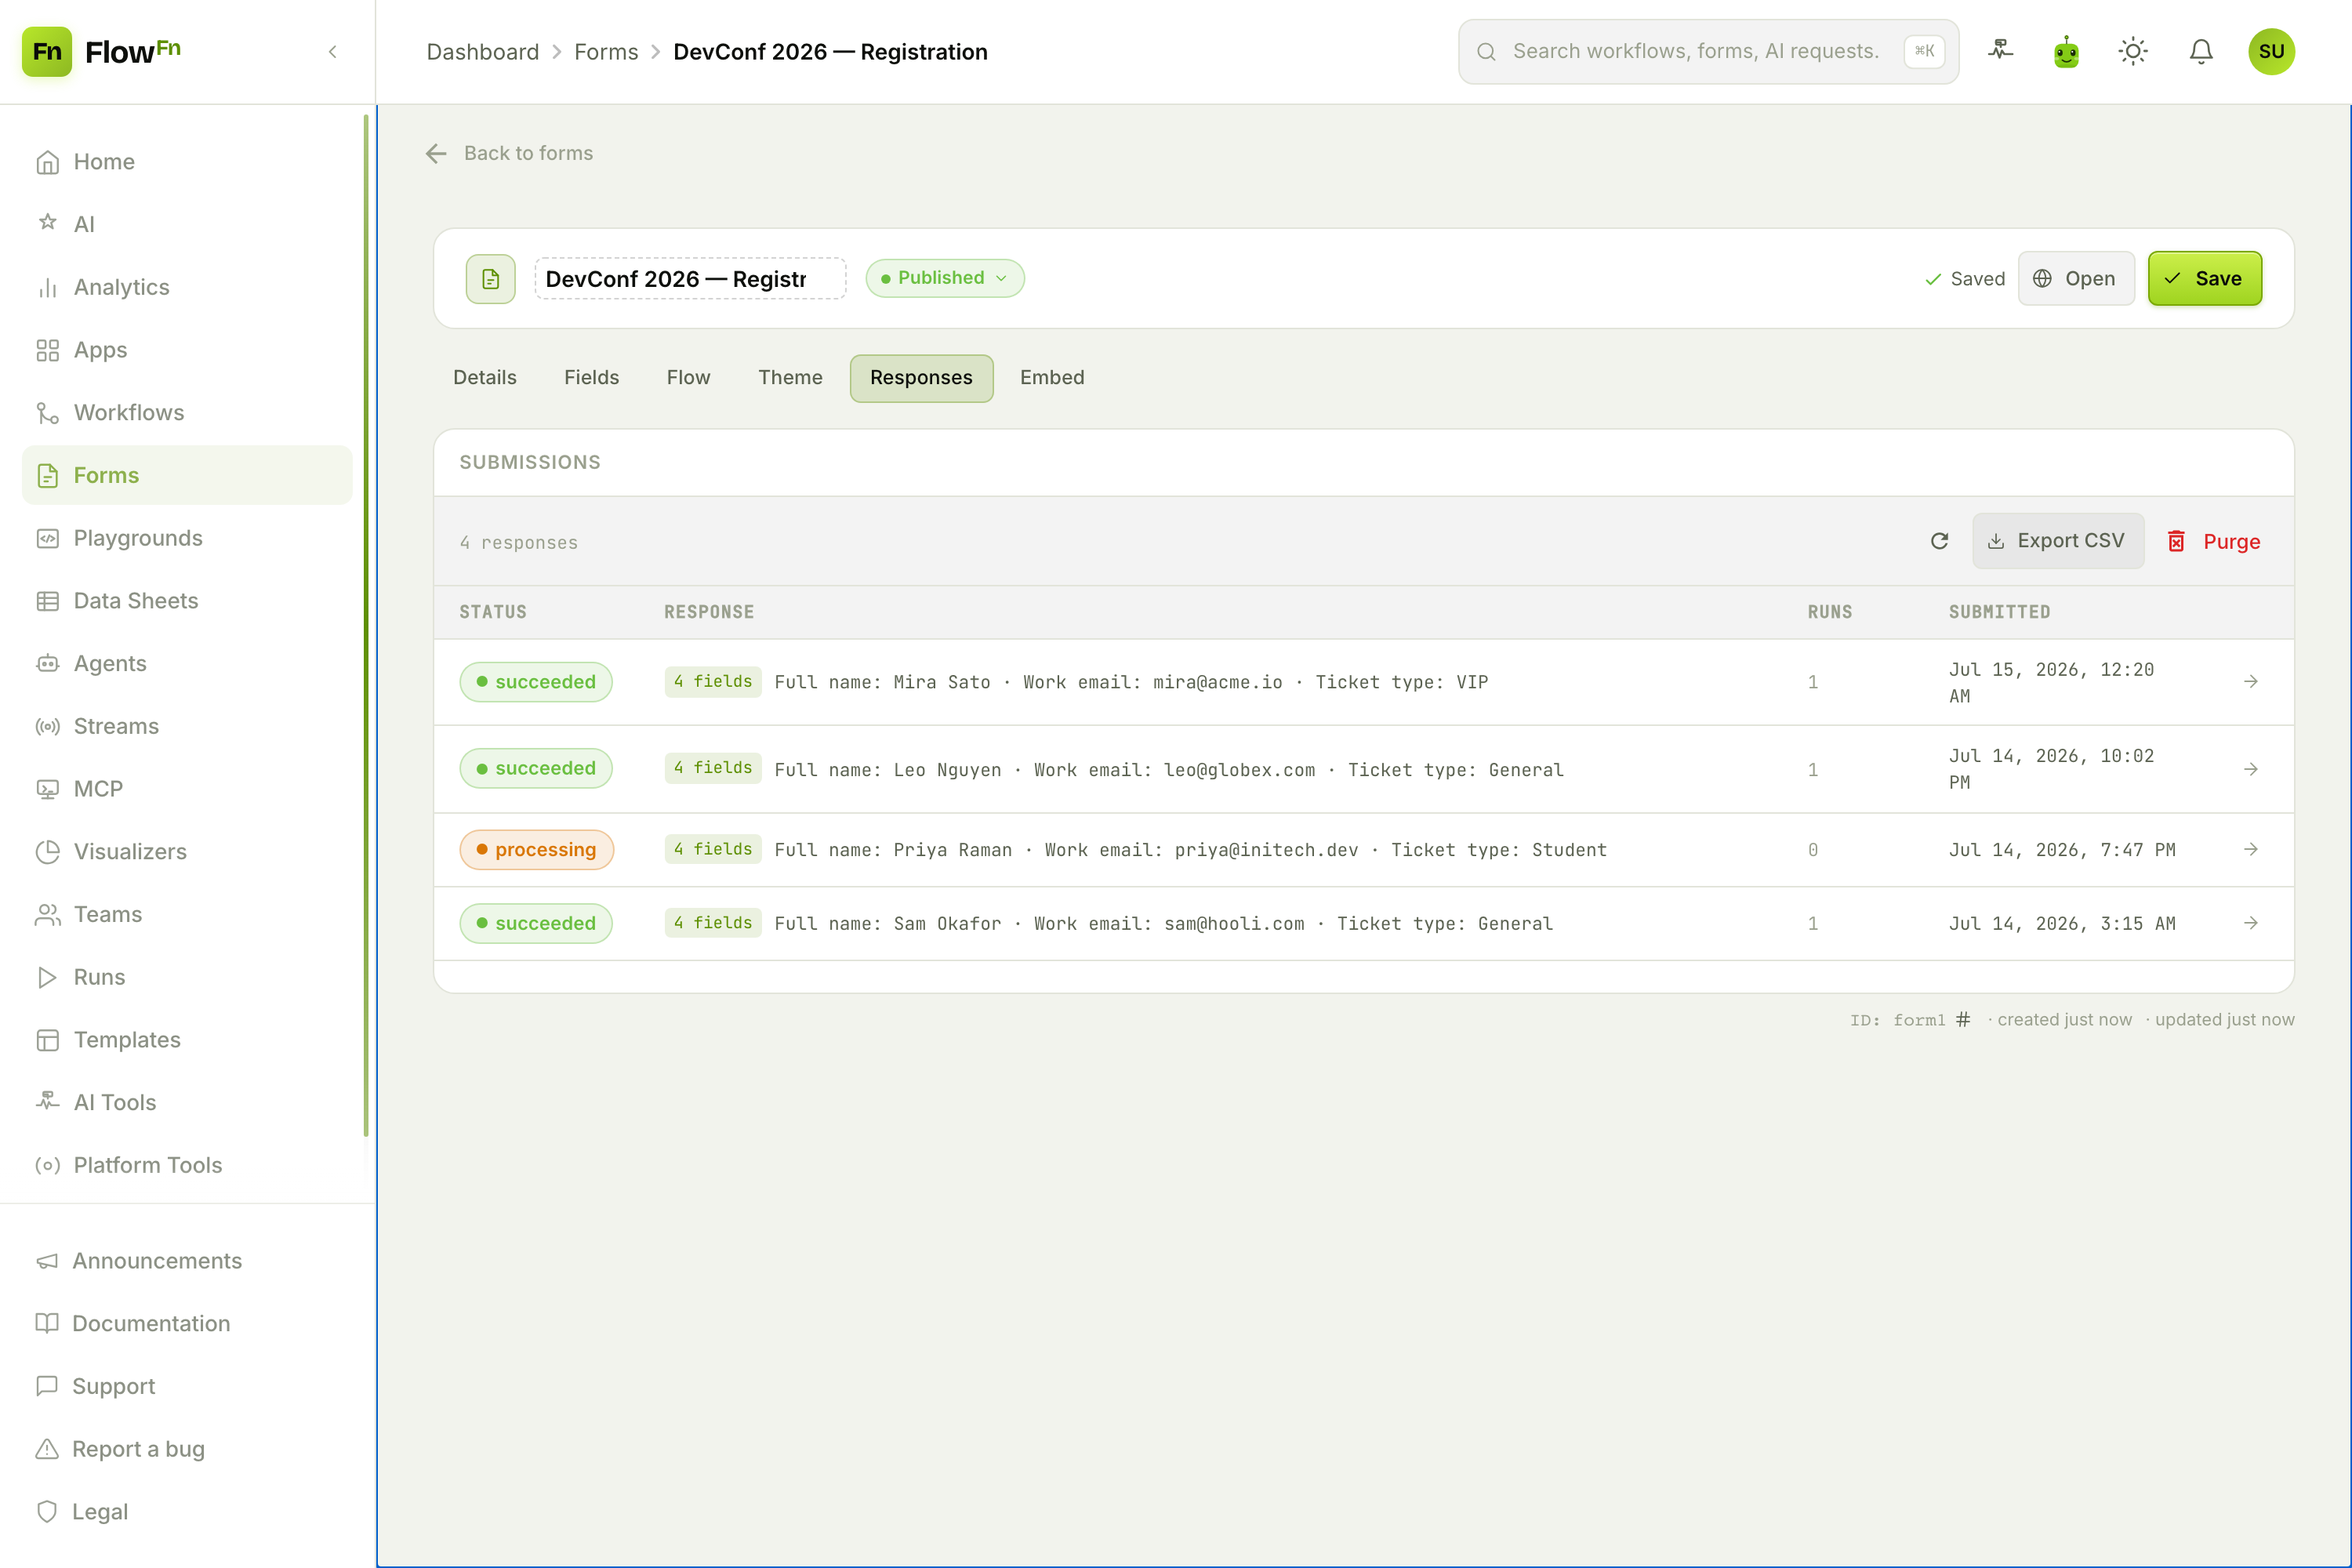
A live table shows each response's status (received → processing → succeeded/failed), a preview of its fields, how many workflow runs it kicked off, and when it arrived. Export CSV hands the caterer a spreadsheet; Purge (owner/admin only) soft‑deletes with a 90‑day recovery window.
Click a row for the full response, rendered by field type:
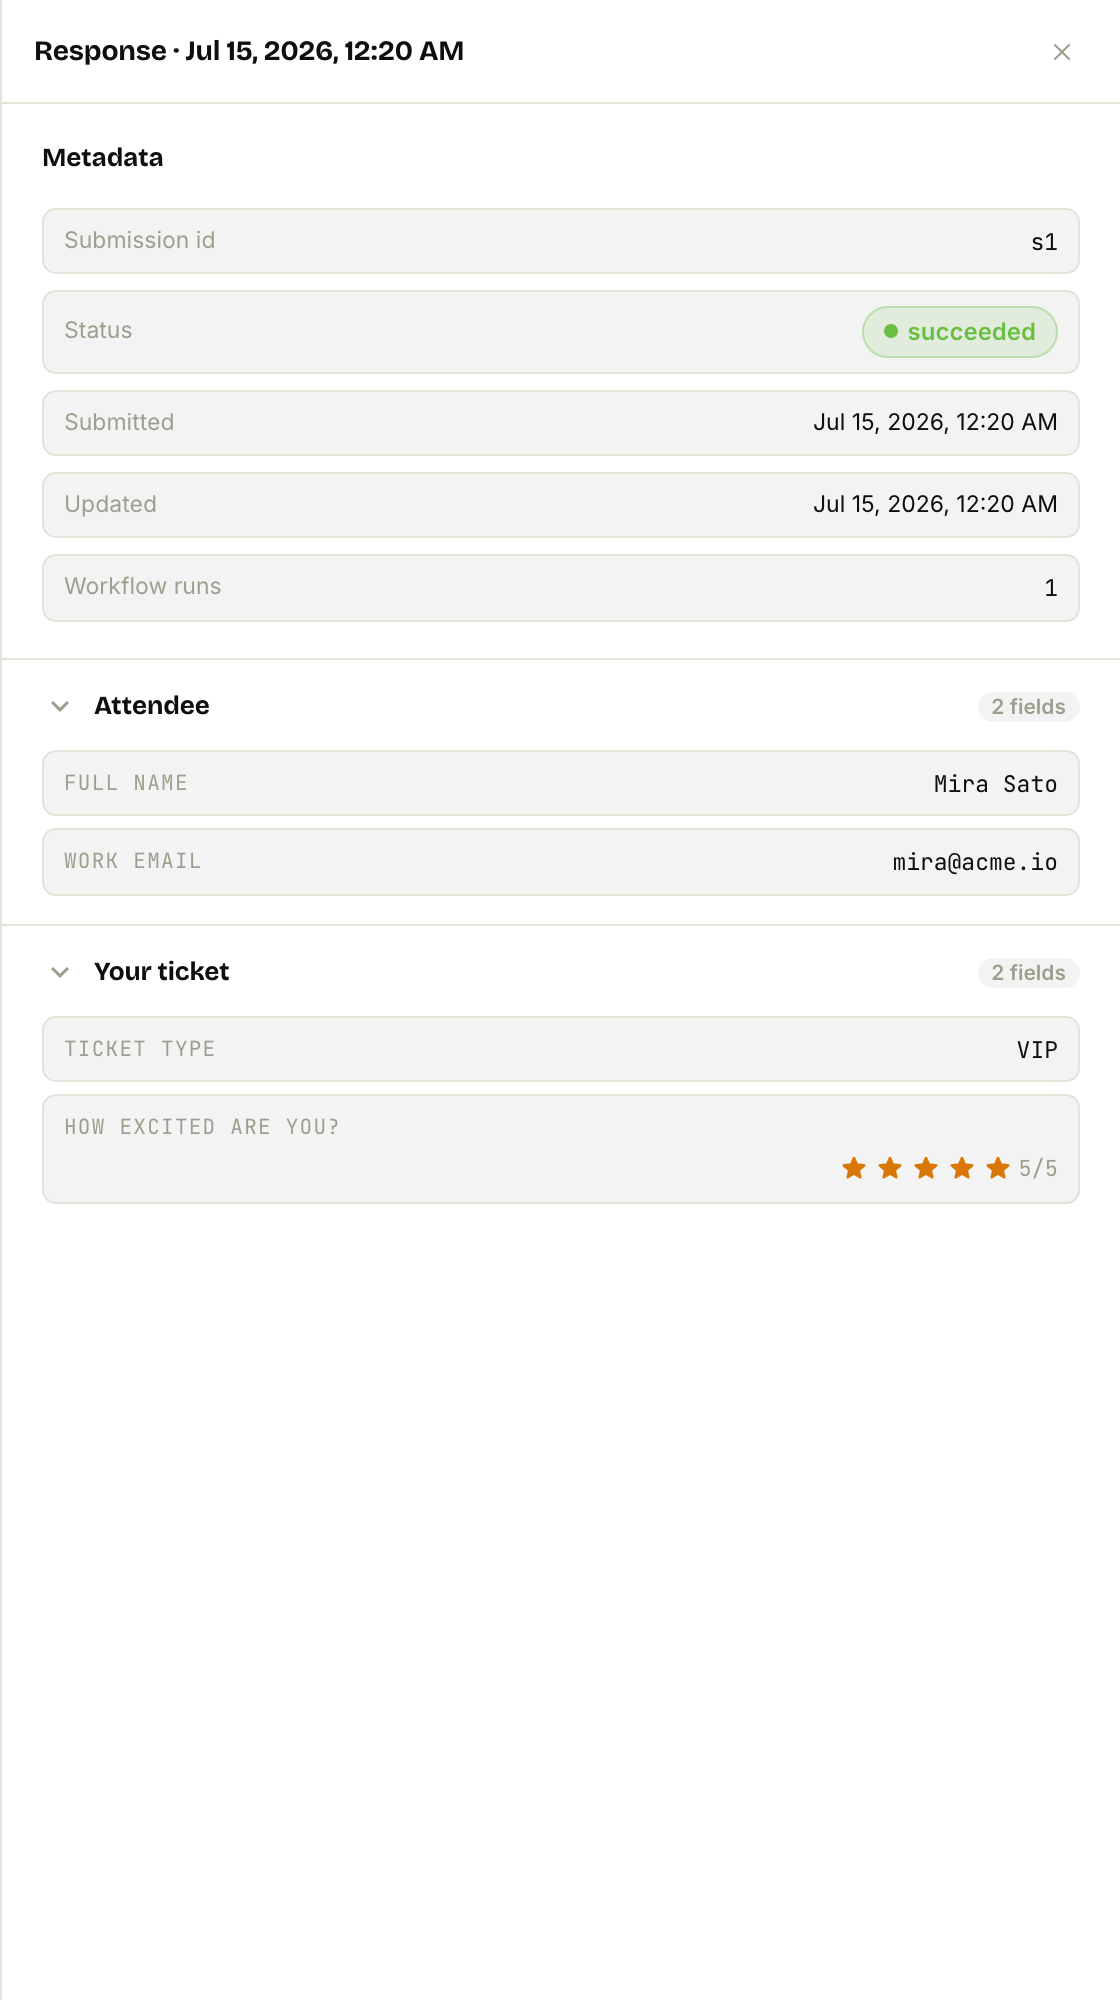
Notice the rating rendered as ★★★★★ 5/5 — NPS scores show as colored bands, signatures as inline images, and file uploads as download cards. It's not a wall of raw JSON; it's readable.
Step 8 — Turn submissions into action
A form that just stores answers is only half a tool. In FlowFn, a form submission can trigger a workflow — up to 10 per form.
You wire this from the workflow side, not the form: in a workflow's trigger drawer, choose Trigger type = Form and pick your registration form. Now every submission queues a run, with the answers arriving as trigger inputs. Point that workflow at an AI Model to personalize a welcome, a Data Sheet to append the attendee, and a Platform Tool to email their ticket — exactly the kind of pipeline we built in the workflow tutorial.
That's the whole loop: Forms collect, Workflows act.
The tour, in one table
| Tab | What you set |
|---|---|
| Details | Slug/URL, description, success message, public vs. password, consent, SEO |
| Fields | Sections + 17 field types; per‑field Basic / Validation / Logic |
| Flow | Welcome screen, success screen/redirect, submission limits |
| Theme | Page style (Classic/Dashboard/Minimal/Banner/Focused) + colors & fonts |
| Responses | Submissions table, type‑aware detail, CSV export, purge |
| Embed | Token‑protected iframe, allowed domains, regenerate |
| Password | Shared access password (appears only when the form is private) |
Wrap‑up
A good FlowFn form is a few deliberate choices stacked together: fields grouped into sections, logic that hides what's irrelevant, a flow that welcomes and thanks, a theme that looks like you, and access set the way you intend. Publish it on your own domain, embed it where your audience already is, and read the responses without squinting at JSON.
Then connect it to a workflow, and the form stops being a dead‑drop and becomes the front door to an automation.
Start with three fields and the Classic style — you can publish in five minutes — and add the flourishes as you go. Build one, share the link, and tell us what you collected.